Cutting drywall is inevitable when remodeling the inside of your home. Shaping and sizing the sheetrock to fit specific room configurations is vital, but what are the best ways to cut drywall?
We show you how to cut drywall, examine the tools you’ll need, and offer pro-level hints and tips.
Key Takeaways
- Select the right tool: Utility knife, drywall saw, jab saw, or Dremel for different cutting needs.
- Score and snap: Use a utility knife and T-square to score the white side of the drywall, then snap for a clean cut.
- Be accurate: Measure twice and mark cut lines carefully to minimize errors and waste.
- Stay safe: Wear safety glasses and a respirator when cutting drywall to protect your eyes and lungs from dust.
Best Way to Cut Drywall
Selecting the right tool to cut drywall can be a challenge. With so many options, let’s take a look at the standout candidates.
Utility Knife
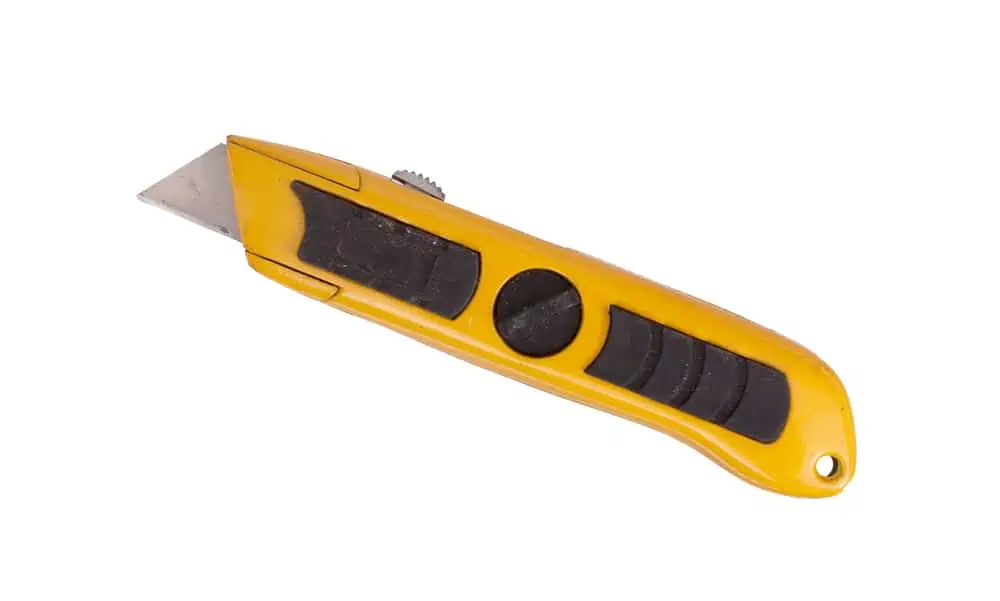
A tool kit without a utility knife is like mac without cheese. Cutting the wallboard with a utility knife is straightforward enough; simply score along the wallboard and snap it to remove the discarded section.
Utility knives are excellent for minor repairs and shaping thin drywall. However, utility knives have small blades, so you’ll need something more capable if you want to punch a hole in the drywall.
Top Tip
Use a utility knife with a retractable blade. They are more durable than snap-off varieties and stay sharper for longer.
Pros
- Versatile.
- Copes with most cutting tasks.
- Cheap and easy to use.
- Ideal for scoring rather than cutting.
Cons
- Not ideal for cutting holes in drywall.
Drywall Saw
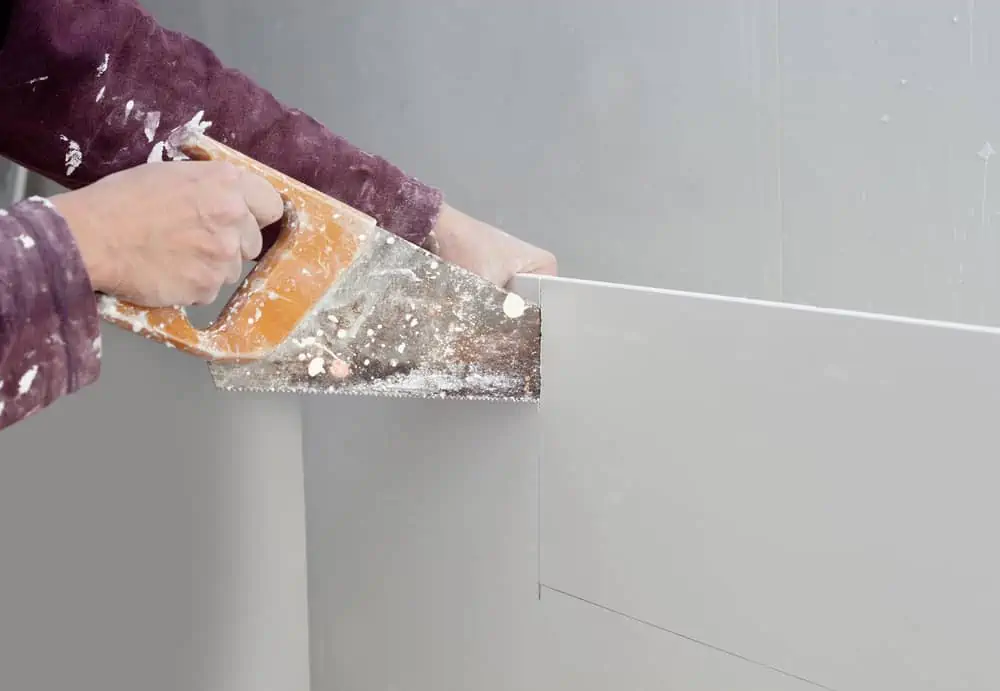
Drywall saws look like regular saws, except they often have a shorter blade. They are lightweight, easy to use, and contain as many as 11 teeth per inch. This increases the cutting accuracy and decreases the tear up on the edges of the wallboard.
Drywall saws are limited in their use. They make cuts with ease, but they are ineffective at cutting around electrical boxes. Get a jab saw if you need to make a hole in your drywall.
Pros
- Cheap to buy.
- Easy to use.
- Makes accurate cuts.
- Leaves neat edges.
- Lightweight.
Cons
- Not suitable for cutting holes.
Jab Saw
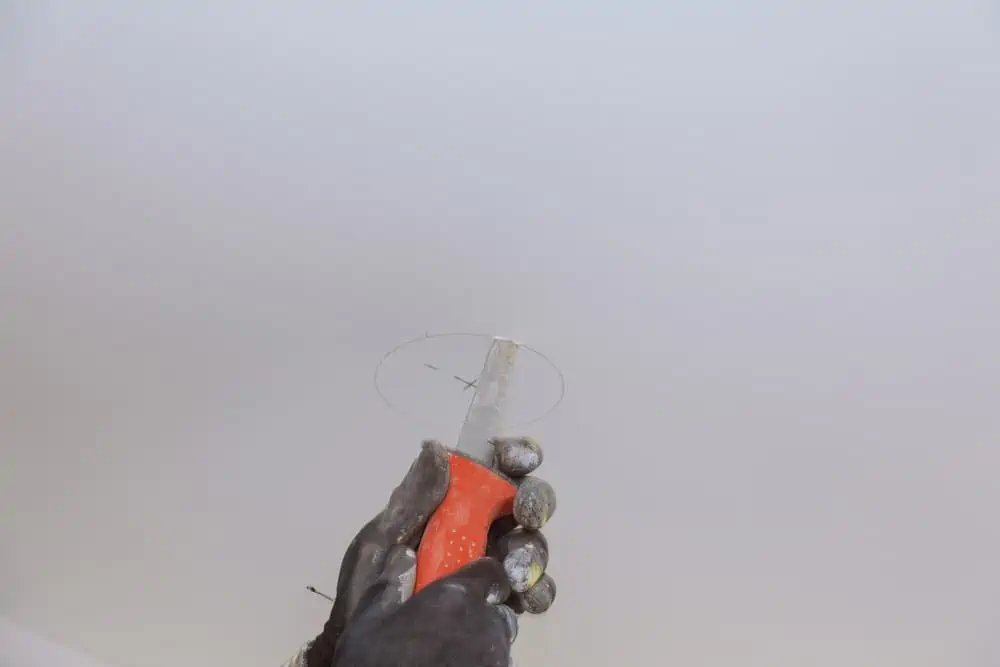
Jab saws are also known as keyhole saws and are a staple of drywaller toolkits. These saws are perfect for cutting holes in wallboard to accommodate electrical boxes, ducting, and switches.
Because it has a tapered blade with wide teeth, it makes light work of the gypsum core. Mark the section to cut, insert the saw, and cut along the line.
The downside with a saw is the amount of plaster dust it creates when those large teeth tear through the gypsum. It also lacks finesse, often leaving rough edges.
Using a jab saw probably means keeping a drywall rasp handy to smooth the edges, like this TAJIMA 7-Inch Sheetrock Tool.
Pros
- Makes light work of cutting.
- Perfect for cutting out sections of drywall.
- Easy to use.
- Relatively inexpensive.
Cons
- Creates a lot of plaster dust.
- Leaves rough edges.
Dremel
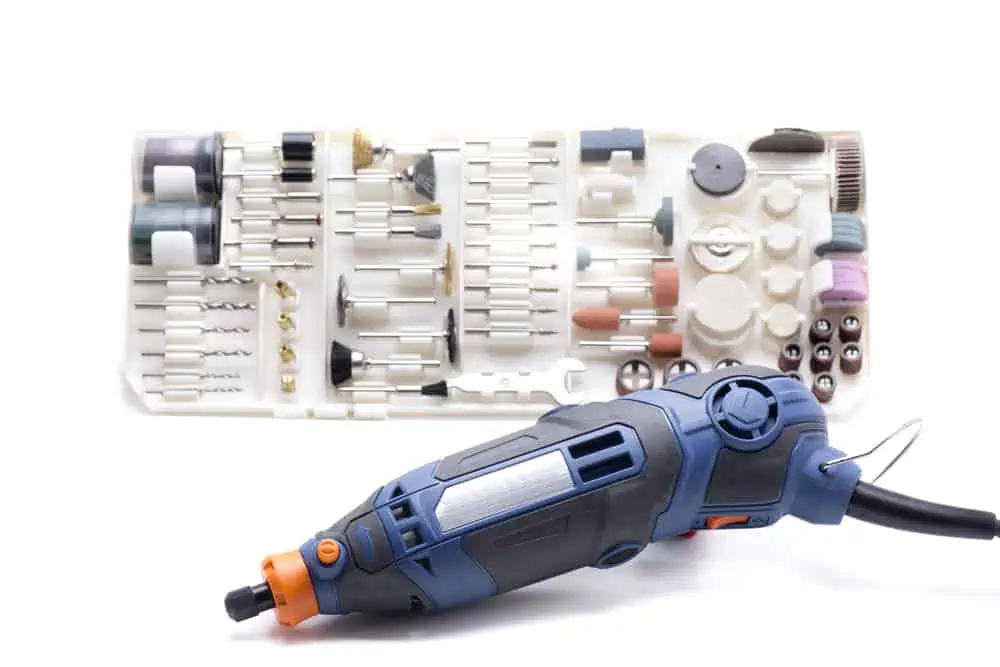
Dremels are automated cutting tools with interchangeable attachments. The beauty of using a Dremel is that it makes precise cuts that other tools can’t perform. If you want to speed up your work rate, a Dremel can undoubtedly help.
You can make any shape or angle and even smooth the cuts with a sanding attachment. That said, a Dremel is more expensive, requires a power supply, and is ineffective at making long straight cuts. It also creates a lot of harmful dust.
Pros
- Speeds up your work rate.
- Makes precise cuts.
- Interchangeable cutting heads.
- Gives you greater control.
- Ideal for awkward shapes.
Cons
- Expensive compared to other tools.
- Requires a power supply.
- Not good at making long cuts.
- Creates a lot of dust.
Which Side of Drywall Do You Cut First?
In most cases, you score along the paper layer on the finish side. That’s the white side of the drywall. It creates a neater outward-facing line.
How to Score Drywall
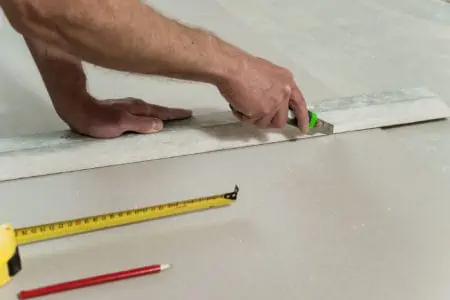
Scoring drywall is the best technique when cutting entire wallboard sheets. It enables you to make accurate cuts and deliver straight edges.
Safety First
Plaster dust is dangerous if inhaled, so wear safety glasses and a respirator to protect your eyes and lungs.
What You’ll Need
- Drywall T-square.
- Utility knife.
- Rasp.
- Pencil.
- Tape measure.
- Drywall sheet.
- Table.
- Place the drywall sheet on a flat, clean table.
- Mark the measurements on the drywall where the scoreline will go.
- Mark the cut line with the T-square and pencil.
- Hold the utility knife against the straight edge of the T-square and score along the line.
- Repeat the score if needed.
- Remove the T-square and retract the knife blade.
- Slide the sheetrock towards the table’s edge, so that the scoreline sits along the table’s edge.
- Snap the board by applying gentle downward pressure.
- Flip the sheetrock over and score along the brown paper lining to remove the discarded section.
Trade Secret
The key to a successful cut is to partially insert the blade into the gypsum core. Retractable blades enable you to set the depths, making it easier.
How to Cut Drywall
Cutting drywall is not the same as scoring sheetrock. Ninety percent of the time, it is easier to hang the drywall and then make the cuts. A great example is when hanging and cutting sheetrock for door and window openings.
What You’ll Need
- Drywall rasp.
- Drywall saw.
- Drywall sheet.
- Screwdriver.
- Drywall screws.
- Hold the drywall over the door opening, securing it on a stud. Use the screws and screwdriver, repeating this process for the stud on the other side of the door frame.
- With the wallboard held firm, mark the cut line with a pencil.
- Grab the saw and work along the line using smooth cutting motions.
- Remove the wasted sections and discard them.
- Grab the rasp and gently smooth the edges of the wallboard to repair any saw damage.
Pro Tip
When making cuts, don’t fret too much about getting accurate measurements. It is better to fill the gaps with drywall mud to allow for heat and moisture expansion.
How to Cut Drywall for Electrical Boxes
Hanging sheetrock is simple enough, but it does get more interesting when you need to accommodate electrical boxes, sockets, switches, and heat ducts. Whether installing sheetrock on a wall or ceiling, you will have to contend with obstacles.
What You’ll Need
- Jab saw.
- Pencil.
- Drywall screws.
- Screwdriver.
- Tape measure.
- Mark the cut line on the drywall about 1/8-inch bigger than the actual hole. You can fill in the excess gaps using drywall mud.
- Place the tip of the jab saw in the corner of the box marked on the drywall.
- Gently push the handle with the palm of your hand, and the jab saw should slide through the sheetrock.
- Saw back and forth, working down the line until you reach the next corner.
- Repeat the process until the square is cut.
FYI
If you struggle to insert the jab saw, make a slit with the utility knife. It makes it easier to slide the jab saw blade into the plasterboard.
How to Cut Drywall for Repair
Drywall repairs have to be made from time to time, which means removing sections. Doors dent wallboard, windows cause joint cracks, and human activity causes general wear and tear.
A Dremel is a great tool because it allows you to make intricate cuts and work on hard-to-reach sections. Getting into tight corners is not always possible with a hand saw or utility knife.
Start in the corner of the box, and work towards the opposite corner with disc cutter attachment. Repeat this process until the drywall section comes away. Remember that Dremels create a lot of dust, so wear your glasses and respirator.
Measure the opening and mark out the dimensions on a scrap section of drywall. Using a new wallboard sheet increases costs and wastage.
Now fire up the Dremel and cut out the square. Place it in the gap and use drywall mud and joint tape to seal it in place.
Is It Easy to Cut Drywall Yourself?
The ease of cutting drywall depends on the task you undertake. For an easy way to cut straight lines across lengths and widths, use a utility knife. Scoring with the blade and snapping the board delivers speedy and accurate results.
Working around electrical boxes is a little more involved. You will need a jab saw or Dremel to make intricate cuts. If you are cutting around wires or vents, you will need a degree of skill, so it may be better to hire a pro.
Employing a pro for bathroom installations might be better because it requires specialist drywall and working with intricate plumbing.
Tips for Cutting Drywall Properly
Why make life more complicated when there are tried and tested tips used every day in the industry. Let’s look at some popular tricks to speed up your work rate and give you the best results.
Use a T-Square
A T-square is invaluable when cutting drywall. Look for a model like this Kapro adjustable T-square because it spans 48 inches and can accommodate several angles for precision cutting.
Use Sharp Blades
Always use a retractable utility knife rather than snap-off blades because they are more durable. Sharp blades make clean cuts, whereas dull blades tear to leave rough edges. Retractable blades are also depth adjustable, making it easier to score drywall.
Cut the Drywall Face First
Drywall has a brown backing and a white outward-facing side. Score the outward-facing panel first and then snap the drywall before cutting the brown paper sheet to release the wasted section. This always ensures a clean cut every time.
Measure Twice, Cut Once
Accuracy is everything when performing DIY, and cutting drywall is no different. Always double-check your measurements before cutting to minimize errors and wastage.
Cut While In Situ
When secured to the wall studs, it is often easier to cut your drywall. Cutting openings for windows and doors ensures greater accuracy and is faster. The same is also true when cutting around electrical boxes and other obstacles.
FAQs

What is the Difference Between Sheetrock and Drywall?
There is no difference between sheetrock and drywall. Drywall is the generic name for wallboard, and sheetrock is a brand of wallboard.

Can I Use a Circular Saw to Cut Drywall?
Never use a circular saw to cut drywall. The saw will make the cuts, but it kicks out so much dust that it could be dangerous to your health.

Why are the Corners of My Drywall Cracking?
Your corners are cracking due to building settlement and expansion of the joints between each drywall panel. Sections above doors and windows are particularly susceptible to cracking. Every time you close the door, vibrations make cracks appear.
A Cut Above
Drywall installation is not a mysterious art, and you can master the techniques needed. Knowing how to cut sheetrock is a life skill that keeps paying dividends. All it takes is a practical approach and a handful of inexpensive tools.
The next time you embark on a remodel or significant drywall project, hold your head high and shout, “I can do it!” Now, let’s fist pump!