Cleaning walls before painting is a step you shouldn’t skip. You may be tempted to slap the paint onto that dirty wall, but it will come back to haunt you later. Dirt affects how the paint adheres, so it may flake off in time.
We show you the best way to clean walls before painting, including how to prep a room for decorating.
Key Takeaways
- Cleaning walls before painting is crucial for proper paint adhesion and preventing peeling.
- Commercial and homemade cleaners, such as dish soap, TSP, or vinegar and baking soda mixtures, can be used to clean walls.
- Allow the walls to dry for at least 24 hours after cleaning before painting to ensure proper adhesion.
- Proper room preparation, including covering appliances, filling cracks, priming, and sanding surfaces, is essential for a successful painting project.
Is It Necessary to Wash Walls Before Painting?
Washing walls before painting is crucial if you want the paint to stick. However, it is unlikely that a pro painter will wash your walls because their job is to paint. If they were to clean your walls, they would almost certainly charge you for the privilege.
The better the paint adheres, the longer it stays on the wall. Dirt, grease, and oily stains impede the way it sticks, which leads to peeling paintwork later down the line.
What to Use to Clean the Surface Before Painting
Knowing how to clean walls before painting can take two routes: using commercial detergents or homemade wall cleaners. First, let’s look at the commercial products you can use.
Mrs. Meyer’s Multi-Surface Cleaner Spray
Look no further than Mrs. Meyer’s Cleaner Spray if you want a popular multi-surface cleaner.
It has notched up over 30,000 sales on Amazon, so it must be effective. It cleans floors, ceilings, kitchen surfaces, and of course, walls.
You can even use it to deep clean your bathroom.
Zep Foaming Wall Cleaner
This Zep Foaming Cleaner is a dedicated wall detergent. It removes the toughest stains without damaging the painted or finished surface beneath. It lifts off ink, grease, food stains, and scuffs. It is also the perfect product to use on your kitchen work surface.
TSP
Trisodium phosphate, like this Sunnyside All-Purpose Cleaner, is useful in so many areas of your home. It cleans painted walls and basement floors and even restores dried-out paintbrushes.
Safety Note
You will need goggles, safety gloves, and a respirator. TSP is harmful if swallowed or inhaled, and it burns when making contact with skin.
Chomp Painted Wall Cleaner
Chomp Painted Wall Cleaner is an all-purpose cleaner that gets to work in just five minutes. It cleans cooking grease, food splatters, and all manner of general stains and odors. Spray it on, wait five minutes, wipe it down, and the blemish is gone.
Homemade Wall Cleaner
If you don’t fancy using commercial products, it’s time to raid your kitchen cabinets for some key ingredients.
Here’s what you will need:
- One cup of white vinegar.
- Three tablespoons of baking soda.
- Three cups of warm water.
- Three drops of dish soap.
Grab the baking soda, white vinegar, and dish soap, mix them in a bucket with warm water and apply them to the wall with a sponge.
Top Tip
Decant the solution into a spray bottle to get an even mist coating on the wall. It is also the easiest way to apply the solution.
How to Clean Walls Before Painting
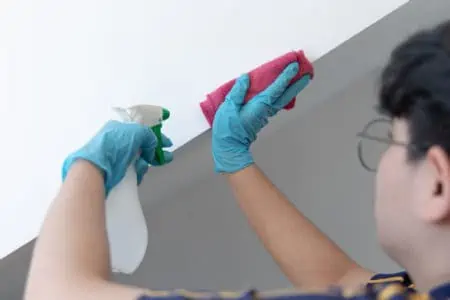
So, the time has come to paint your walls, but first, you must remove those old stains and blemishes. Dish soap might do the trick if you have lighter stains and marks.
With Dish Soap
Everyone has dish soap to hand. It is a staple component of every kitchen, making this method the easiest to apply.
What You’ll Need
- Bucket.
- Warm water.
- Dish soap.
- Sponge.
- Dry cloth.
- Fan.
- Dropcloth.
- Paint scraper.
- Mix a few drops of dish soap into a bucket of warm water.
- Lay down drop cloths to protect your floor.
- Soak the sponge with soap and squeeze out the excess water.
- Wipe the sponge over the walls, removing stains and scuffs.
- Repeat the process to remove more stubborn marks.
- Use the paint scraper on those hard-to-remove marks.
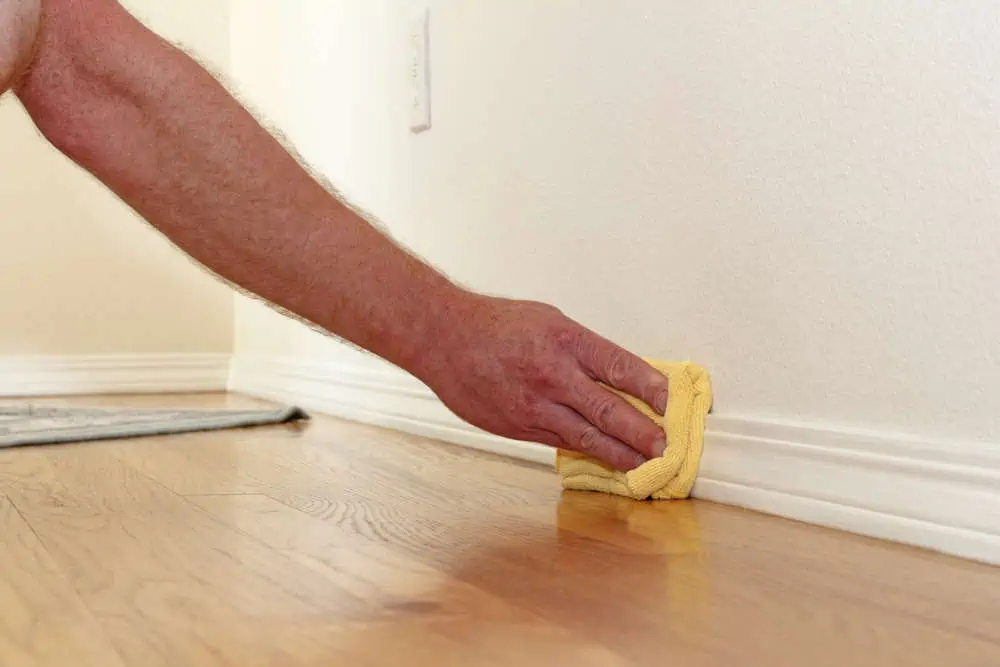
- Dry the wall with a cloth.
- Switch on the fan and wait while the wall dries before applying the first layer of paint.
With TSP
TSP or TSP-substitute is effective at removing tougher stains from interior walls. TSP-substitutes, like this Jasco No-Rinse Cleaner, are phosphate-free, making them kinder to the environment and your health.
Safety First
When using TSP, take precautions because it could burn your lungs if inhaled or swallowed. It also irritates eyes and burns on contact with skin.
What You’ll Need
- Respirator.
- Goggles.
- Rubber gloves.
- TSP.
- Paint scraper.
- Razorblade.
- Drop cloths.
- Fan.
- Sponge.
- Warm water.
1. Clear the Wall Space
Remove shelves, wall hangings, and any other items that live on the walls. Also, remove furniture and rugs. Use the razor blade to scrape away any sticky tape or wall adhesive.
Lay the drop cloths down to protect the floors and walls.
2. Wash the Walls
Don your rubber gloves, respirator, and goggles before mixing the solution. Pour warm water in the bucket and add the TSP, following the instructions to the letter. Dip the sponge in the detergent and wring it out, so it is damp rather than dripping wet.
Wipe down the walls, frequently rinsing the sponge in the TSP solution. Take care not to have water running down the walls, and don’t rub too hard as this could damage the wall.
3. Wipe the Soap Away
Tip the dirty water down the drain and rinse around the bucket with clean water. Refill it halfway with fresh warm water. Rinse out the sponge so it is soap-free.
Dip the sponge in the water and wipe it over the walls, removing excess soap. Dip and rinse the sponge several times as you cover the surface.
4. Dry the Walls
Position the fan so it faces the wall. Switch it on and allow the cold air to dry the wall thoroughly. Wipe down the surfaces with a dry cloth to remove surface moisture; drywall soaks up water like a sponge.
When the wall dries, you are ready to start painting.
Prepping a Room for Painting
Whenever you decide to decorate, you need to make preparations to protect your belongings and surfaces. It may not be the most enjoyable task, but it is necessary.
Cover Appliances and Fixtures
Sometimes you cannot clear the room entirely, especially in kitchens and bathrooms. Plastic sheeting or drop cloths will cover appliances and fixtures and protect them against water damage.
Fill Cracks
While the emphasis in this article is on cleaning walls, you cannot ignore cracks. Use ready-mixed filler, like this Onetime Red Devil Spackling. It spreads easily, fills small holes, and won’t shrink or crack.
Don’t Forget to Prime
Part of knowing how to best prep walls for painting includes knowing to use primer to ensure that the paint sticks. This KILZ Interior and Exterior primer helps seal the surface, acts as a stain blocker, and suppresses mold. Lay down two coats on your newly cleaned wall and wait while it dries.
Use Painter’s Tape
Painter’s tape conceals light fittings, switches, and sockets. Run the tape around the edges where the fixtures meet the wall to prevent paint spread and splatters. Also, edge baseboard and trim if you’ll paint your walls a different color to your woodwork.
Sand Surfaces
Surfaces always feel smoother after sanding, especially woodwork. If your walls are pitted, or you’ve used filler, you will need to smooth the surfaces to take the paint. Use 220-grit sandpaper for the best results.
How Long After Washing Walls Can You Paint?
You should wait a minimum of 24 hours before you begin painting. If you try to paint onto wet walls, the paint will not adhere and peel away.
FAQs
Keep It Clean
The next time you decide to decorate your walls, remembering to clean them is paramount. Hopefully, we’ve imparted the importance of doing the boring prep work first. If you want the paint to adhere and look good for longer, clean your walls first.
Repeat after us, “I must clean my walls before painting.”
