Do you ever finish a DIY paint project and find it impossible to clean your paint brushes and rollers? That’s probably because you didn’t learn how to clean paint brushes properly.
The job might be tedious, but it saves you from having to buy new brushes for every project. We show you how to do it the right way and prolong the life of your paint brushes.
Key Takeaways
- Remove excess paint by wiping it off with a towel or scraping it off with a tool.
- For acrylic or latex paint, clean brushes with warm, soapy water and rinse until clean.
- For oil-based paint, use a solvent like turpentine or mineral spirits before rinsing with warm, soapy water.
- Dry brushes by shaking away excess water and storing them upright to air dry.
How to Clean Acrylic Paint Brushes
No one wants to use a paint brush to paint a room and then throw it away. So, learning how to wash paint brushes is crucial for preserving their lifespan.
What You’ll Need
- Water.
- Dish soap.
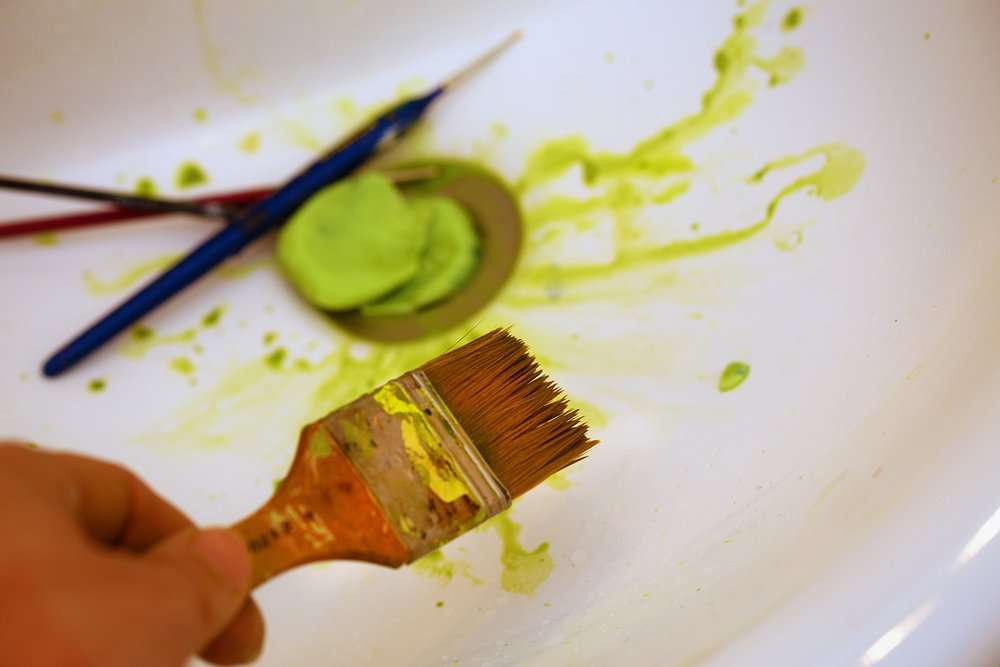
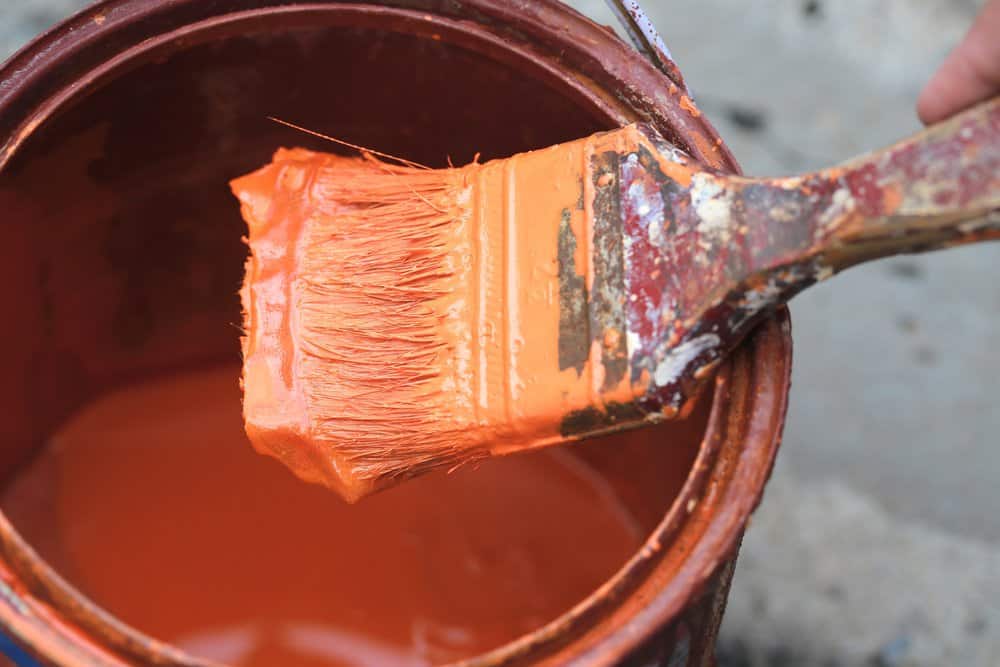
1. Remove Excess Paint
Run the brush along the inner edge of the paint can and watch all the excess paint drip from the brush. Do this for both sides of the brush.
2. Give it a First Rinse
Put warm water and a few drops of liquid dish soap in a clean container. You can also add the dish soap directly to the bristles. Stir the brush in the container and notice how the water changes color to that of the diluted paint.
3. Clean the Bristles
Using a comb or even your fingers, spread the bristles apart to get all the paint stuck between them. Use a massage-like technique for the bristles.
4. Rinse the Brush
Preferably under a stream of warm water (that doesn’t run into the sink), rinse the brush. If you rinse it in a container, ensure it has clean water without soap.
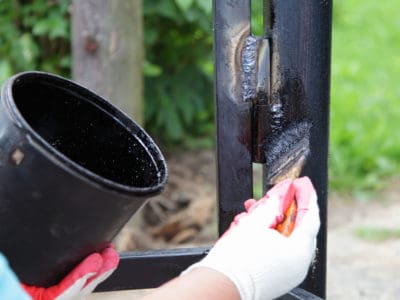
How to Clean Oil-Based Paint Brushes
To clean the brush, use a solvent designed for the kind of paint you have been working with.
If you paint using an oil-based medium, you’ll need to clean your brushes with turpentine, mineral spirits, or with white spirits. The resin in oil-based paint causes it to develop a layer that isn’t permeable to air.
What You’ll Need
- Turpentine.
- Clean jar.
1. Dip the Brush in Solvent
First Thing’s First
Ensure you only utilize solvents in an area with adequate ventilation.
Put the bristles into a plastic dish or some other small container. Then pour enough of the solvent over them to cover them completely.
It isn’t a good idea to put a dirty brush straight into the container that the solvent came in. You’ll end up ruining the whole container and have to buy more for your next project.
2. Stir the Brush
Stir the brush in the solvent for 10 to 30 seconds, running the bristles along the bowl’s rim to clean them. Repeat the process until the paint can no longer be removed from the brush. Rinse with water afterward.
How to Dry Paint Brushes
Once you’ve cleaned the paint brushes, there are a few tricks to keep in mind for proper drying:
- Shake the brush above a container.
- Blot excess moisture on a newspaper or a paper towel.
- Place the paint brush on a flat surface or hang it so that the bristles point straight down.
How to Clean Paint Rollers
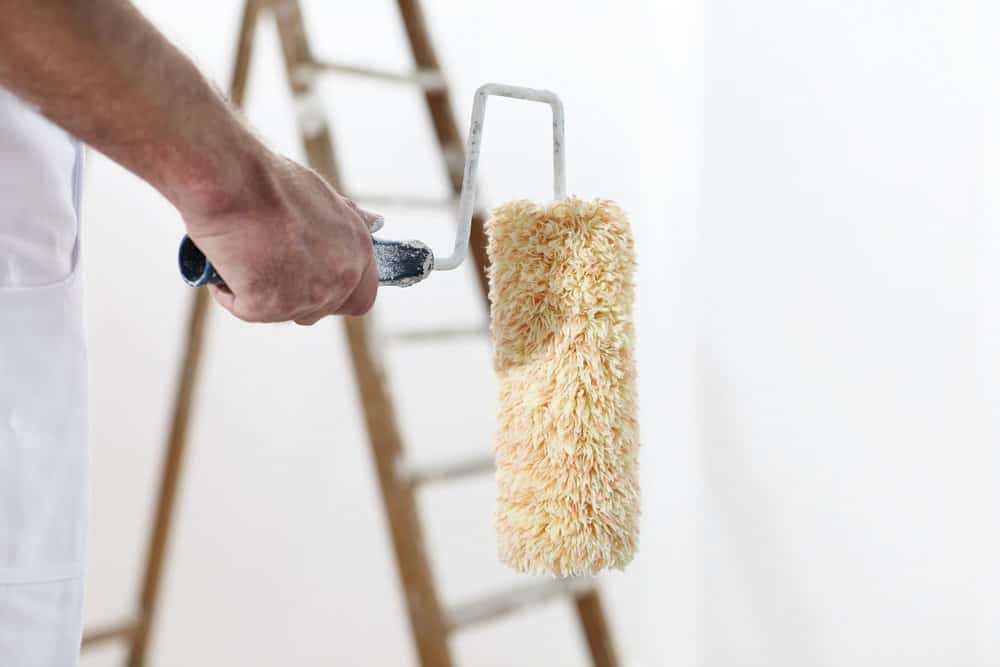
Rollers are a little more challenging to clean than brushes, but you can easily do it following these steps.
What You’ll Need
- Metal multi-tool or putty knife.
- Warm water.
- Mild dish soap.
- Scrub brush.
1. Remove Excess Paint
Take a putty knife or a metal multi-tool and scrape any excess paint off the roller. This paint can either go back into the paint can or directly into the trash can.
2. Rinse the Cover
Take the roller cover off the frame and use warm water to rinse it. Add some mild dish soap and give it a good clean.
Make sure to rinse the roller cover properly, or the suds can prevent your future painting project from turning out okay. When the water runs clear, your roller cover is properly rinsed.
Pro Tip
When putting your roller cover out to dry, choose an upright position that prevents it from flattening on one side.
3. Clean the Frame
Your roller frame is most likely dirty with paint too. Use soapy water and a brush to give it a nice scrub. When you’ve removed all the paint from the frame, rinse and air dry it.
How to Get Dried Paint Off Brushes
Sometimes, cleaning paint brushes can be difficult, but the results of such an endeavor are frequently well worth the trouble.
Knowing how to clean paint brushes will save money in the long run by preventing you from having to purchase new ones.
What You’ll Need
- Vinegar.
- Saucepan.
- Tongs.
- Commercial paint brush cleaner/paint solvent like turpentine.
1. Dip in Vinegar
Soak the brush with dried paint in vinegar for one hour. If the bristles do not bend, give the brush another hour of soaking time.
2. Boil the Vinegar
If it still needs loosening after two hours, immerse the brush head in vinegar that has been placed in an old saucepan and bring the vinegar to a boil.
Once boiling, remove it from the heat and let it cool down. The brush handle may be hot, so use tongs to remove it if necessary.
If cleaning with vinegar on your old and dried paint brushes doesn’t work, purchase some commercial brush cleaner and use it as recommended on the label. You can also clean dried paint off your brush with paint thinner.
Can You Clean Paint Brushes in a Sink?
Cleaning paint brushes in the sink isn’t an environmentally-friendly approach and isn’t recommended for the sake of your plumbing system.
Because it contains so many different components, paint can cause blockages, septic system backups, or sludges that these systems weren’t designed to manage.
The binder for most paints today is plastic, sometimes known as a polymer. If the paint is flushed down the drain, it clings to the surfaces it comes into contact with along the way.
This can result in the pipes becoming obstructed. If obstructions occur in the drain field area, it might be a significant problem.
Tips For Storing and Caring for Paint Brushes
You will have to store your brushes in two particular situations. One is while waiting for a coat to dry. The second is when you’re done painting, and the brushes need long-term storage.
Short-Term Storage
When storing the brush for a short period, wrapping the bristles in plastic wrap is an easy way to maintain the brush’s freshness.
While some people recommend using aluminum foil to wrap the brush, using plastic wrap or Zip-Loc bags instead of foil yields superior results. Plastic wrap and Zip-Loc bags are inexpensive, simple to work with, and create a perfect airtight seal.
Long-Term Storage
When you have to store the brush until the next paint job, there are a few extra tips to consider:
- Properly clean the brush to remove any excess paint. The best way to do this is with solvent.
- Wash with soapy water and rinse it properly.
- Slap the brush against the palm of your hand a few times. This reshapes the brush and realigns the bristles.
- Put a newspaper sheet or a paper towel around the brush and secure it using a rubber band or tape.
Preserving the Brush
The truth is that people end up damaging their paint brushes. Not just because of failing to clean and store them correctly but also because of improper painting techniques.
If you are interested in some proper brush painting techniques, these tips might help:
- Don’t use the same brush for painting everything. Use a cutting brush for areas like windows, trims, doors, ceilings, etc. Use another one for distributing paint across the wall.
- Use nylon or a polyester brush if you have water-based paint (such as latex paint).
- Use a brush with natural bristles for oil-based paint.
- Cleaning the walls before painting renders better paint results and prevents bristles from getting caught in stubborn debris.
- Don’t use too much force when painting with a brush.
- Always clean the ferrule (metal part of the brush) properly!
FAQs

How Do You Store Paint Brushes Between Coats?
If you have to wait for a few hours or even a night between coats, then wrap the wet paint brushes in plastic wrap or a Zip-Loc bag. This prevents the paint from drying out.

Can You Use a Wire Brush to Clean Paint Brushes?
Yes. In fact, a wire brush or a brush comb can help separate the bristles, making it easier to clean the paint brush.

Can You Keep a Paint Brush in the Fridge?
Yes, absolutely. Simply wrap in foil or plastic and place in the fridge. It keeps the paint moist.

Can You Soak Paint Brushes Overnight?
You can leave the brushes to soak in water or paint remover overnight to avoid the paint from hardening on the bristles. However, suspending them after soaking is a good idea because as the bristles soften and settle into the bottom of the jar, they will permanently bend.

How Long Should a Paint Brush Last?
If you take care of it and properly clean it after every use, a paint brush can last for several years.
Remember to Clean Your Brushes
Once you learn how to clean paint brushes, you can enjoy them for more than just one paint job.
Remember that the best way to clean paint brushes is often by using warm water and soap. Investing in quality brushes will also make a difference in terms of lifespan.