Showerhead replacement is relatively easy to do and fairly cheap, depending on the model you buy. Knowing how to change a showerhead could improve your water flow and shower experience.
We show you how to replace a showerhead and talk through the different styles of showerheads available.
Key Takeaways
- Know how to replace a showerhead: Showerhead replacement is simple with basic plumbing skills and the right tools, such as an adjustable wrench, Teflon tape, and a stepladder.
- Choose the right showerhead: Different types of showerheads include fixed, adjustable, rain, handheld, dual, and slide bar showerheads, each with unique features.
- Follow proper installation steps: Turn off the water supply, remove the old showerhead, clean the pipe, apply Teflon tape, attach the new showerhead, and test for leaks.
- Know when to change your showerhead: Replace your showerhead every 6 to 8 months, or annually in soft water areas, to maintain water pressure and reduce scaling.
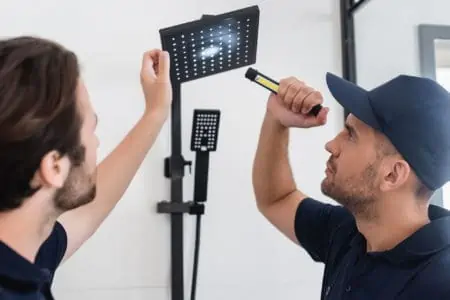
Can I Change a Showerhead Myself?
Changing a showerhead and handle is pretty straightforward, especially if you want to improve water efficiency and pressure. The office for Energy Efficiency and Renewable Energy states your showerhead should have a maximum flow of 2.5 gallons per minute.
It should also create 80 pounds of pressure per square inch to improve water efficiency.
So, can you change a showerhead? Sure you can. You don’t need any special skills other than a basic grasp of plumbing and that DIY can-do attitude.
Different Showerhead Replacements
The first step to replacing your showerhead is understanding what types are available to you. With several to choose from, let’s dive right in.
Fixed Showerhead
This type is one of the most basic you can get. It consists of a showerhead attached to a faucet arm or directly to the wall. It does not move, and you only get one shower spray setting.
Adjustable Showerhead
As the name suggests, this model is adjustable, giving you more spray options. It attaches to the wall via a faucet arm, and you can change the spray configuration by twisting the showerhead.
Rain Showerhead
If you like conserving water, this is the eco option. It typically mounts directly to the ceiling, so it is non-adjustable, and the water spray imitates the invigorating patter of raindrops. If Gene Kelly were still alive, he would definitely sing under one of these!
Handheld Showerhead
This showerhead attaches to a wall mount but has the addition of a flexible hose to direct the spray to any part of your body. This is another popular option in US homes. They are also ideal for installing in an apartment where space is limited.
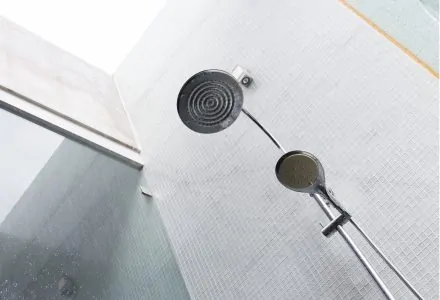
Dual Showerheads
If you like having options, a dual showerhead is for you. You get a fixed showerhead and a handheld version with a hose so you can wash the parts other showers can’t reach.
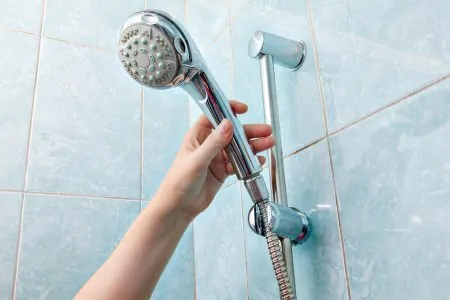
Slide Bar Showerhead
This showerhead attaches to a slide bar to adjust it directionally and in height. So, if Hulk Hogan and Danny DeVito moved in together, this is the showerhead they’d get.
How to Change a Showerhead
Before we get down and dirty with the detail, it’s time to gather the tools and supplies necessary for a successful showerhead installation.
What You’ll Need
- Cloth.
- Soft jaw pliers.
- Wire brush.
- Toothbrush.
- Stepladder.
- Adjustable wrench.
- Replacement showerhead.
- Teflon tape.
1. Isolate the Water Supply
Before you touch anything, switch off the water supply to the faucet. If you attempt to remove the showerhead with the water still on, you will get a soaking.
2. Remove the Old Showerhead
Set up your stepladder so that you can reach the showerhead. Ensure that it is fully extended and both sets of feet are on a flat surface.
Your old showerhead simply twists off counterclockwise. If the fitting is corroded or gunked up, use the adjustable wrench to unscrew it. If the showerhead offers resistance, grip the pipe in the wall with the pliers to stop it from moving.
Take Note
If this pipe twists, it could cause a leak behind the wall.
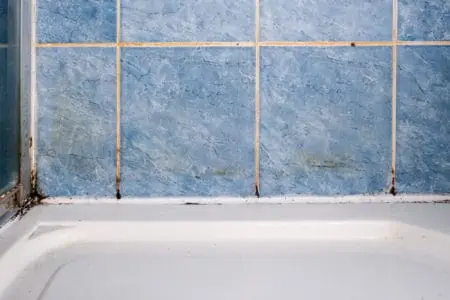
3. Clean Up the Gunk
With the old showerhead removed, clean the pipe that enters the wall. Use the wire brush if the soap scum is particularly bad or the toothbrush for lighter stains. Wipe the residue off with the cloth.
Ensure that the thread is dry before running the Teflon tape around the end. If it’s still wet, the tape won’t stick.
4. Use the Teflon Tape
Wrapping the threads in Teflon tape seals the connection between the faucet pipe and the new showerhead assembly. Start at the end of the thread and wrap the tape clockwise. If you go the other way, the tape will unravel when you screw the attachment.
Once the thread is covered in tape, press it into the grooves with your fingers.
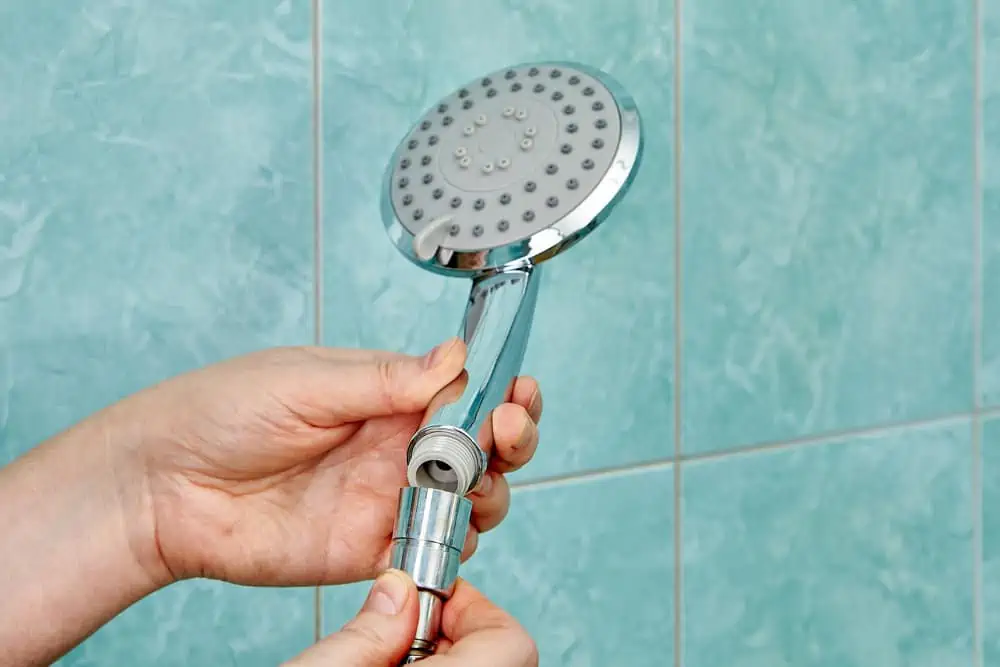
5. Attach the New Showerhead
Start by hand-screwing the new showerhead clockwise. When you feel it tighten, give it one final quarter turn, and it should be sealed. If you think the faucet pipe needs to be secured while you do this, use the pliers to grip it tightly.
Word Of Warning
If you overtighten the connection, you risk cracking the plastic locking nut.
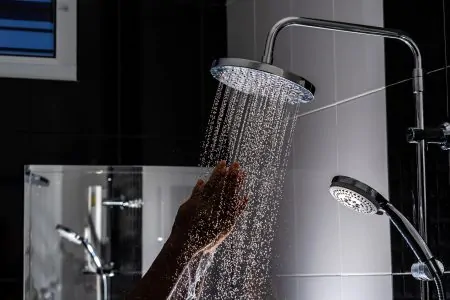
6. Test for Leaks
Switch the water back on and feel for water leaks. Is the flow as strong as it should be? If the water dribbles out of the showerhead, there could be a leak in the system.
Maybe you need to give the shower attachment one final turn, or there isn’t enough Teflon tape on the joint.
How to Replace Different Types of Showerheads

So, we’ve dealt with how to install a showerhead, but what about changing specific types of showerhead? Is the procedure any different, and do we need additional tools? Let’s take a look.
Wall Mount
This type of shower attachment is straightforward to change. Simply hand-screw the new showerhead onto the protruding faucet arm sticking out of the wall.
Remember to wrap the threads in Teflon tape, and when you feel the showerhead tighten, one final quarter turn should seal the connection.
Top Mount
Top mount showerheads screw directly onto the faucet arm. Follow the same procedure as before and seal the threads with plumber’s tape.
If you are concerned that the shower arm will move while twisting, grip the pipe with the adjustable wrench to hold it still.
Handheld
Installing a handheld showerhead is simple. Screw the hose thread to the wall pipe by hand, then twist the showerhead attachments to the end of the hose.
As before, seal all the joints with plumber’s tape.
Sliding Bar
Now things get a little more challenging when installing a sliding bar showerhead. If you are replacing like-for-like, simply install the new sliding bar in the same anchor holes as the old one. You will need a power drill and the correct drill bit size for a fresh install.
Hollow wall anchors are the best to use because there will be drywall beneath your shower tiles. Hold the sliding bar at the desired height on the wall and mark the screw holes with a pencil. Use a spirit level to ensure the bar is level.
Now make the holes with the drill. Lay a drop cloth on the shower floor to catch the dust. Insert the anchors and then screw the bar in place.
To attach the showerhead, simply screw the hose thread to the faucet pipe and twist it tight by hand.
Top Tip
For drilling through tiles, lay down a layer of sticky tape over the location of the holes. It stops the tiles from cracking as the drill bit bites.
How to Change a Fixed Showerhead to Handheld
Converting a fixed showerhead into a handheld showerhead is straightforward enough if you have the correct fittings and tools. Before you start, isolate the water supply to the shower.
What You’ll Need
- Adjustable wrench.
- Teflon tape.
1. Attach the Mount
Screw the handheld mount onto the faucet arm. Wrap the threads in Teflon tape to create a strong seal. You should complete this task by hand, but you can use a wrench as long as you take care not to twist the faucet arm.
2. Connect the Hose
Screw the shower hose to the threads on the mount and connect the other end to the showerhead. Again, use Teflon tape to create a tight seal. Ensure that the washer doesn’t fall out before you screw the head in place.
3. Check for Leaks
Place the showerhead in the mount and turn the water back on. Switch on the shower and watch for leaks. Feel around the threads for drips as you may need to tighten with one final quarter turn.
Take Note
Showerheads and hoses are standardized according to National Pipe Thread sizes (NPT) at 1/2 an inch in diameter.
FAQs

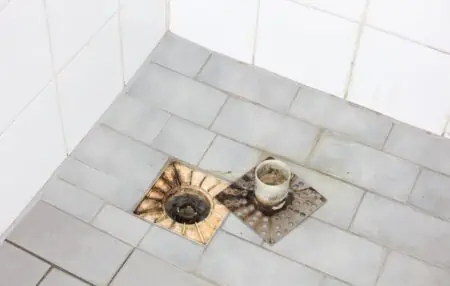
How Often Should You Change Your Showerhead?
You should replace your showerhead every six to eight months. If you live in a soft water area, you may stretch that to every year. If your water is mineral-laden, your showerhead will scale up a lot quicker.

How Do You Unscrew a Stubborn Showerhead?
The easiest way to unscrew a stubborn showerhead is to use a lubricant like WD-40 and an adjustable wrench.

Are All Showerheads and Hoses Universal?
All American and Canadian showerheads conform to the National Pipe Thread size of 1/2 an inch, making them universal. For the hoses to attach to the showerheads, they must also be the same size.
Final Thoughts
Knowing how to remove a showerhead is a smart move if you want to improve your showering experience. It gives you better water pressure and reduces wastage, which is great for the environment.
Even if you have basic plumbing skills, as long as you follow our easy guide, you can swap your showerhead for a new and improved version in no time at all.