Thinking about purchasing a ceiling fan but unsure about changing the lightbulb in it? Removing the cover can be tricky, and you need to ensure you have the proper bulb types.
There are some pros to having a ceiling fan in a house. So don’t drop the purchase idea just yet. Regardless of its mechanism, I will show you how to change a light bulb in a ceiling fan.
Key Takeaways
- Identify the type of ceiling fan and light bulb before changing.
- Turn off the power to the fixture before starting.
- Find how the light cover is held in place (screws, clips, or twist-on).
- Remove the old bulb and replace it with a suitable new one.
Types of Ceiling Fans and Light Bulbs
Before you learn how to change a ceiling fan light, you must consider the different types available.
Downlight
Downlights are frequently included with fans, although they can also be purchased separately and added to an existing fan. You can buy a downlight kit, mount it to the bottom of the motor and offer direct illumination.
Ceiling fans with downlights are ideal for spaces that demand bright, direct illumination, such as laundry rooms or kitchens.
The bulb you need depends on the downlight fixture you have.
- Integrated downlights work with integrated LEDs and halogen bulbs.
- Those with a bowl dome light kit work with CFL and incandescent bulbs.
- Downlights will fit glass multi-light kits and also need CFL and incandescent bulbs.
Uplight
Uplight ceiling fan kits are installed above the fan motor and directed upward toward the ceiling. By angling the lights upward, they reflect light off the ceiling, illuminating a large area indirectly.
This indirect lighting gives your room a beautiful, mellow glow. This style of lighting is ideal for places that require cozier lighting. Uplight kits usually require halogens and incandescent bulbs.
Multi-Light
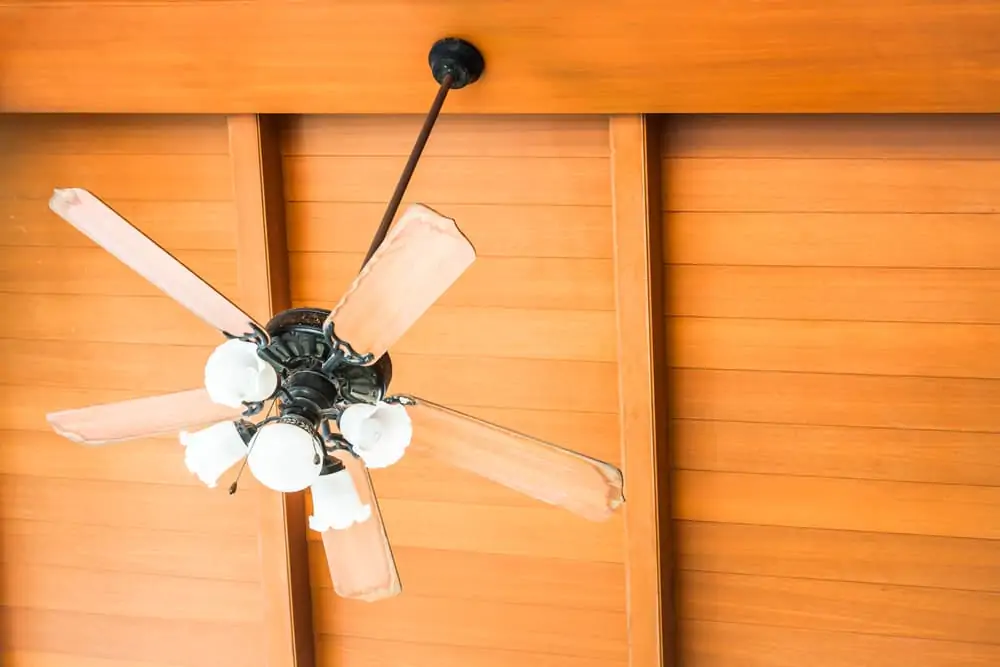
Numerous lights are included in ceiling fans equipped with multi-light kits. This basic ceiling fan light kit is available with lights facing up or down but generally with lights facing down.
Multi-light systems deliver the same brilliant, direct light as a standard downlight but increased coverage. Multi-light setups are ideal for spaces that demand bright light over a large area or in many positions. Such as above a dining room table.
Halogen Bulbs
Ceiling fans equipped with halogen lights utilize 15 percent less energy than ceiling fans equipped with incandescent lights.
Halogen lights generate the maximum heat in terms of temperature. Additionally, they generate a warmer, more inviting light ideal for living areas and dining rooms. With the right dimming control, all halogen lights are dimmable.
Fluorescent Bulbs

Compact fluorescent light bulbs (CFLs) are used in fluorescent light ceiling fans, consuming 75 percent less energy than their incandescent counterparts.
Because CFL bulbs are often not dimmable, they should not be used as the sole source of illumination in a multi-purpose room. CFL bulbs are likewise not suggested for exposed-bulb installations due to their visual appearance.
Incandescent Bulbs

Incandescent light bulbs are a more classic form of light bulb that was the most widely used for several decades. They’ve become rather unpopular in recent years due to advancements in lighting technology such as LEDs, halogen bulbs, and compact fluorescent lights (CFLs).
They consume more energy than their fluorescent counterparts. Most suppliers no longer manufacture fans that exclusively use incandescent lights.
LEDs

LED lights are considered one of the most energy-efficient options available and are always considered an upgrade from all the others. They utilize significantly less energy than ordinary lights and last significantly longer.
Ceiling fans with LED lights are appropriate for locations where changing the light bulb may be challenging, such as fans positioned on very high ceilings.
While LED lights can save money in the long run, they are more expensive than fluorescent or halogen lights. Nowadays, the majority of LED lights are dimmable.
If you’re looking for some, I’d highly recommend this multi-pack of Amazon Basics LED Dimmable Bulbs.
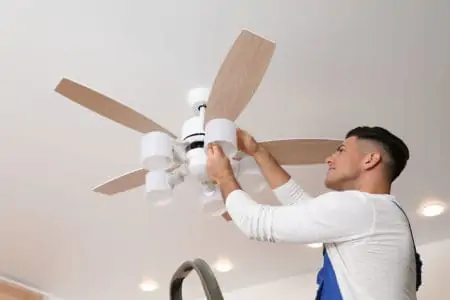
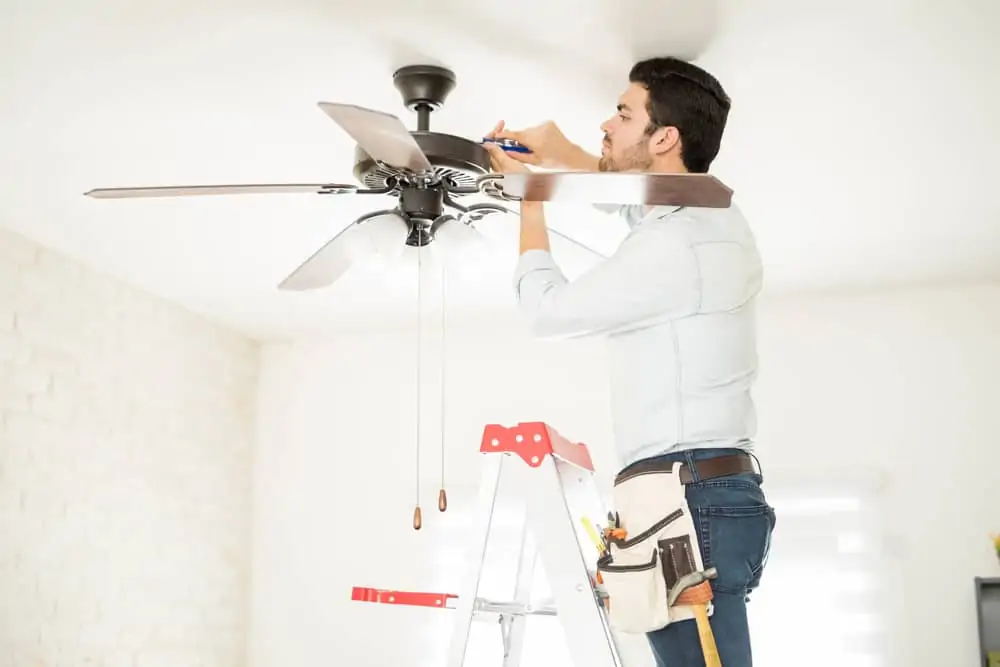
How to a Change Light Bulb in a Ceiling Fan
Knowing how to change a light bulb in a ceiling fan requires identifying how the cover is held in place. Whether you’ve got a Hunter Douglas fan or a generic brand, these steps should apply to most.
With Screws
Try this method if the cover on the light is held in place with screws.
First Thing’s First
Always ensure the power is turned off to the fixture before you proceed.
What You’ll Need
- Ladder.
- Replacement bulb.
- Screwdriver.
1. Locate the Screws
These ceiling fans usually have three or four screws that hold the cover in place. Climb up the ladder, hold the globe using one hand, and release the screws with the other. Screws will usually turn counter-clockwise.
Normally, the screws holding it in place can be loosened by hand. But it’s always good to have a screwdriver just in case they’re tightened too much.
2. Change the Bulb
When you have a suitable replacement, twist the old bulb counter-clockwise to slide it out of the socket. Put the replacement in and turn it clockwise until you start to feel some resistance.
3. Put the Cover Back
Hold the cover with one hand and twist the screws clockwise one at a time.
With Clips
Ceiling fan lights with clips are so easy to handle!
What You’ll Need
- Ladder.
- Replacement bulb.
1. Find the Clips
There should be three clips at the cover’s perimeter, usually made out of metal. Test the clips, as one is usually more flexible, and the others feel a bit stiff. When you find the flexible clip, slide it back.
2. Remove the Cover
Support the cover with one hand while pinching and pulling back on the flexible clip with the other.
As soon as it clears the lip of the light cover, the cover will disengage and fall into your hand. Simply dislodge it from the other retaining clips and store it in a secure location.
3. Replace the Bulb
If the bulb is cool to the touch, you can remove it. Twist it counter-clockwise to remove it from the socket.
Put in the new bulb and turn it clockwise into the socket. When you feel mild resistance, the bulb will stay in place.
4. Put the Cover Back
Insert the light cover’s lip at an angle into the inflexible clips. Pull back the flexible clip just as you did at the first step. Lift the light cover into place. Release the flexible clip.
With Light Cover
Some ceiling fans have a twist-on light cover without screws. These steps will detail how to replace a light bulb in a ceiling fan with this type of cover.
What You’ll Need
- Ladder.
- Replacement bulb.
1. Remove the Cover
Hold the cover, push it upwards, and twist it counter-clockwise.
Take Note
If the cover is stuck in place, gently tap the top of the cover where the housing meets the fixture. This should release the cover, allowing you to twist it out of place.
2. Change the Bulb
Hold the thickest part of the bulbs and rotate it counter-clockwise. Put the new bulb in the socket, rotating it clockwise until you start to feel mild resistance.
3. Re-attach the Cover
Hold the cover using your fingertips and press the threaded rim lightly against the matching area on the fixture. Rotate the cover clockwise until you notice the thread taking hold. Continue to twist until you feel mild resistance.
Other Types
Yes, there are even more types of lights and covers when it comes to ceiling fans. See how each one operates before you make a choice.
Bowl-Type Covers with Center Nut
This cover style is more prevalent on ceiling light fixtures, but it is also found on some fans. To remove it, hold the light cover in one hand.
Turn the decorative metal nut placed at the bottom of the bowl. The bowl will be slowly released from the long-threaded shaft as you twist the nut.
LED Lights
Some ceiling fans have integrated LEDs that can’t be replaced. This means that if the bulbs burn out, there’s nothing you can do but either change the entire ceiling fan or replace the integrated light fixture entirely.
FAQs

How Do You Change a Light Bulb You Can’t Reach?
You can climb on a sturdy step ladder or use a telescoping grabber, also known as a reach extender. The telescopic grabber is a great alternative if your step ladder is too small. Try this Extra Long Telescopic Grabber by RMS, for example.

How Do You Remove a Stuck Light Fitting?
There are several tricks you can turn to when you want to remove a stuck light fitting. You can add a little heat to release the stuck screw or use petroleum jelly for easier removal. Another proven method is to attach duct tape flaps to the cover and gently pull.
Quick Tip
Be careful when forcing it open or off. You could risk breaking the glass.

How Do I Change a Bulb in a Recessed Spotlight?
Pry outward with a flathead screwdriver carefully inserted between the light bulb and the ring. The ring features a gap, which allows you to flex it outward and gently pull it down with your fingers.
Grasp the base and carefully wriggle the two prongs out of the socket to remove the bulb.

What Should I Do if Fan Cover No Longer Fits After Changing a Light Bulb?
You’ve probably got a bulb that is simply too big and now the cover won’t fit. You can either leave the cover off, get a new cover replacement, or try a different bulb size.
The Verdict
Mastering the art of how to change a ceiling fan light isn’t complicated once you understand what mechanism holds it in place. Always make sure to buy replacement bulbs that are the same wattage (or lower) as indicated by the fixture’s manufacturer. And remember to turn off the power to the fixture before doing anything at all.