Is the caulking in your shower moldy, discolored, or cracked? That means it’s time to change it. Ignoring it can lead to the spread of bacteria and even water damage.
The whole process sounds more intimidating than it is, but we’ll show you how to caulk a shower with ease.
Key Takeaways
- Remove old caulk: Clean the area and remove any old, damaged, or moldy caulk before applying a new layer.
- Choose the right type of caulk: Select the appropriate caulk for your shower, such as silicone caulk for water resistance and durability.
- Apply caulk carefully: Use painter’s tape to create a stencil, apply the caulk at a 45-degree angle, and smooth the joint with your finger.
- Wait for caulk to cure: Allow the caulk to dry completely before using the shower, typically 12 to 24 hours.
When to Recaulk a Shower
When it comes to bathrooms as a whole, caulk reigns supreme. It’s essential to seal the grout lines between tub and walls, avoid mildew and mold, and decrease leaks. For this reason, it is so crucial to keep caulk in excellent shape.
Caulk is used around the shower, the bathtub, the tiles surrounding the area, the shower door, and the drain. It is made with waterproof materials that absorb vibrations well. Over time, caulk is likely to crack, and it will need to be renewed.
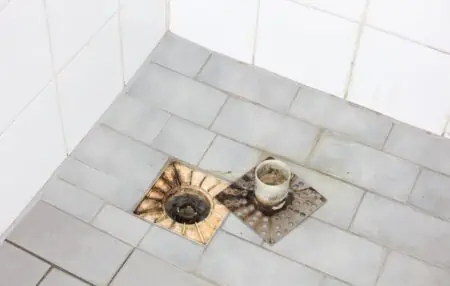
As soon as you detect that your bathroom caulk has suffered extensive damage, you must take action. It’s time to recaulk the shower if you notice black mildew stains, shrinking or cracked caulk, or any signs of discoloring.
Different Types of Caulk
The process of caulking a shower begins with identifying the right type of caulk for the situation. This applies to installing new showers or caulking a shower that’s old.
Silicone Caulk
This type of caulk is known for its flexibility and water resistance. It’s great for bathroom use, but it’s more expensive than latex caulk. Silicone caulk is more durable and has a lifespan of around 20 years when properly cared for.
You can use caulk in outdoor areas and in the bathroom and kitchen, where you need something highly moisture resistant.
Latex Caulk
This type of caulk, also known as acrylic latex caulk, is best suited for masonry, wood, and drywall usage.
This caulk is affordable, simple to use, and seals well without emitting any scents. It also cleans up easily with just water after use. It’s perfect for finishing touches inside your shower stall and around the door.
Latex caulk has a lifespan of 10 to 15 years on average. But it’s susceptible to degradation when exposed to moisture and extreme temperature swings.
Butyl-Rubber Caulk
This type of caulk is perfect for exterior use. It’s designed to repair roofs and for use in construction, being very temperature resistant.
You can use butyl-rubber caulk with stone, rubber, plastics, wood, mortar, metal, and aluminum. It’s great for outdoor showers or indoor ones that use any of these materials.
Safety First
When working with butyl-rubber caulk, make sure you use the required personal protective equipment (PPE), including gloves and eye protection.
Refractory Caulk
Small cracks in mortar can be filled with a high-temperature caulk known as refractory caulk, designed specifically for this purpose. It works great for showers that have infrared or sauna features.
Silica is used in the formulation to increase heat resistance, and it is specifically developed for use in fireplaces. This is a rather simple, quick, and inexpensive technique that can be completed in a short amount of time.
Expandable Foam Caulk
Most expandable foam caulk is a spray with a straw for a nozzle. Each time you spray, it releases a flexible sealant. After that, the foam spreads to fill wider gaps and openings.
The sound dampening capabilities of this material are excellent, and it has excellent insulating and sealing properties. Some older homes have had tiny fractures in their foundations repaired with this type of sealant for a short period.
This type of caulk would work best in residential showers found in apartment buildings or townhouses.
How to Remove Shower Caulking

Prior to learning how to recaulk a shower, you need to get rid of any old shower caulking. Let’s establish what tools you’ll need for the job.
What You’ll Need
- Cloths.
- Rubbing alcohol.
- Chemical caulk remover.
- Razor scraper/caulk removal tool.
- Plastic putty knife.
1. Apply the Caulk Remover
Spray the caulk removal chemical, making sure that you cover the entire perimeter. Check the label to see how long it should sit for.
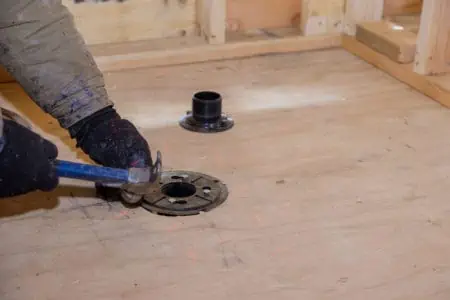
2. Scrape the Caulk
With a plastic putty knife, scrape away the old caulk. It might be easier to peel it in strips. Once you’ve taken away most of the caulk, you can use a razor scraper or a caulk removal tool to remove the remaining residue.
3. Clean the Surface
Rub a clean cloth dipped in some rubbing alcohol on the surface. Allow it to fully dry before applying new caulk.
How to Caulk a Shower
We always recommend you test it out in a non-conspicuous area first, especially if this is your first time.
What You’ll Need
- Painter’s tape.
- Caulk.
- Shop vacuum.
- Caulk gun.
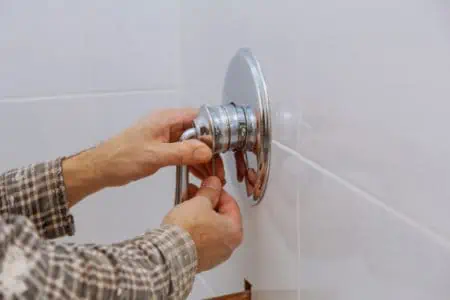
1. Prep the Surface
Prepping the surface for caulking means getting rid of the old caulk before recaulking the shower and cleaning the surface before moving on.
2. Apply the Tape
Put strips of painter’s tape to make a small channel where you plan to apply the caulk bead. It creates a stencil for caulk applications. Use a long tape section and press down the edges to seal them so no caulk can get beneath.
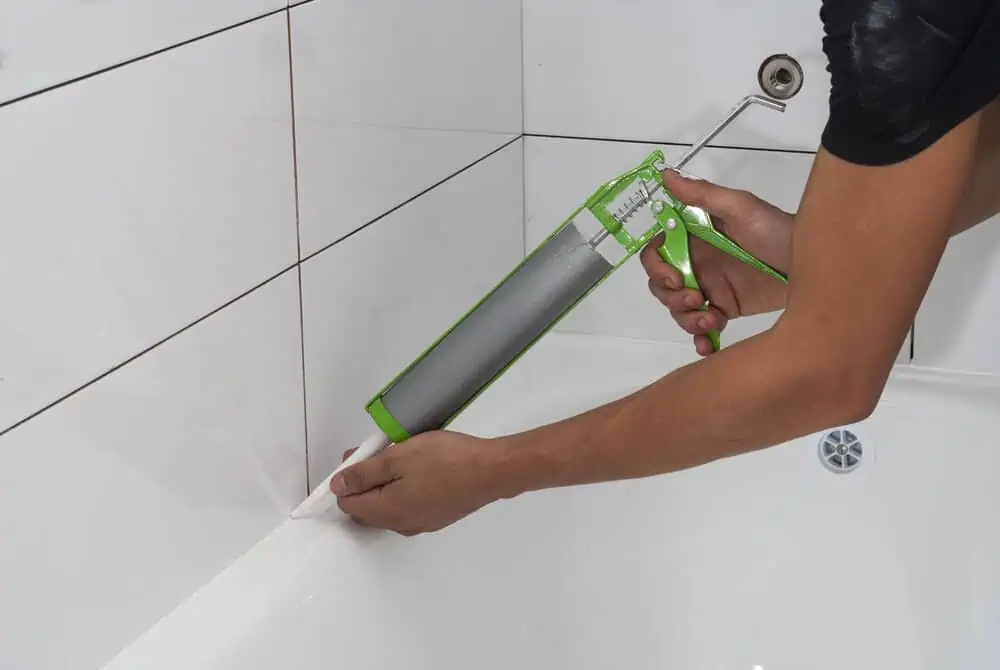
3. Apply the Caulk
Cut the caulk tube’s nozzle at a 45-degree angle. Place a clean nail into the nozzle to puncture the seal that’s inside. Poke it a couple of times to make sure the caulk will come out properly.
Apply the caulk at a 45-degree angle, squeezing the tube to force it into the joint. Drag the caulk tube tip along the joint’s length and squeeze the caulk gun handle as you go. Keep it slow and consistent.
4. Smooth the Joint
If you’re using latex caulk, wet your finger with water. If you’re using silicone caulk, wet your fingers with rubbing alcohol. The water/rubbing alcohol will act as a lubricant to smoothen and thin the joint.
Use light pressure to make the caulk link smooth within the joint, going from one end to the other. Wipe your finger and rewet it when there’s too much caulk on it. If you notice any gaps during the step, apply some more caulk and smoothen it with your finger.
5. Remove the Tape
Remove the painter’s tape immediately after you’re done with the previous step. Remove it slowly and at an angle.
Shower Caulking Tips
Consider the following ideas to help you caulk like a pro:
- Use a nail or a screw to clean the spout of the caulking tube.
- Invest in a caulking gun with a cradle to keep the tube in place.
- Pick a caulk gun that has a ratchet action.
- Use both hands when applying caulk.
- Make sure to apply steady pressure for a clean bead.
- Never use your wrists to pull/push the tip across the joint.
- Use a straw to apply the caulk in tough spots where you can’t use a caulking gun properly.
How Long After Caulking Can I Shower?
Avoid exposing the silicone to moisture before the caulk has completely cured for the best results. This will ensure that the caulk is entirely watertight. If you cannot wait for 24 hours, you should at the very least wait 12 hours.
FAQs

Can You Caulk Over Old Caulk?
Usually, it’s advisable to remove the old caulk and apply a new bead of caulk instead. But you can caulk over caulk if the underlying layer of caulk is not broken or moldy.
If you want the new caulk to adhere properly, make sure the old caulk is oil-free, dry, and clean.

Can You Do Two Layers of Caulk?
The second coat of caulk is sometimes necessary and results in a neater-looking surface.

Can You Caulk Over Mold?
Caulking over mold is never a good idea. You must remove the mold before applying a new layer of caulk.

Does WD-40 Remove Caulk?
WD-40 is efficient at getting rid of silicone caulk. You just spray it over the old caulking and let it sit for a few minutes. Then it should come off easily with a scraper.
Pro Tip
You need to make sure that you’ve removed all WD-40 before applying a new layer of caulk because of the potential reaction.

What Happens If Silicone Sealant Gets Wet Before It Cures?
It depends on the amount of moisture we’re talking about. If there’s not that much moisture involved, then drying time will be slightly delayed. If there’s too much moisture involved, the silicone may not adhere and will peel away.

Is Quick-Curing Caulk Good Quality?
Yes, but they are not as fast-drying as you might think. Even those that claim to dry in one hour usually take between three to 12 hours to fully dry.
Bottom Line
This article should provide you with plenty of useful information on how to caulk a shower.
Remember that cleaning the surface is important if you want the caulk to adhere properly. Also, take note of the tips given to help you get a smooth caulk line every time.