Fixing swollen wooden furniture can be a nuisance, especially when you can’t afford to replace the damaged wood. However, when you learn a few tricks, it will seem like less of a nightmare.
So, we’re going to go over how to fix water-damaged swollen wood furniture. Plus, what can and can’t be fixed, and a few tips for concealing water damage on wood.
Key Takeaways
- Fix swollen wood furniture by moistening the damaged surface, placing it on a flat surface moist-side down, adding weight if necessary, and letting it sit overnight.
- Swollen wood may shrink over time due to changes in humidity, but it is important to properly dry and treat the wood to prevent further damage.
- Use sanding, oil treatments, and removing moisture from wood as methods to fix water-damaged wood furniture.
- Protect wood from water damage by using hand-rubbed oil finishes, sealants, or stain-sealant combinations to waterproof wooden surfaces.
Can You Fix Swollen Wooden Furniture?
Water damage can make the furniture look bubbled, raised, and warped. This can be a problem, especially when dealing with priceless or expensive pieces. So, can you fix it?
The answer to this issue is yes, you can! But it is also dependent on the type of wood used. Cheaply made furniture (made from MDF, veneer, plywood, laminate/particle board, etc.) is challenging to salvage due to the way it’s made.
Particleboards (also known as chipboard) can be restored using air or electric sanders after getting wet unless severe water damage occurs. Make sure you treat it with a waterproofing material to prevent further damage!
When fixing swollen wooden furniture, there are a few things to keep in mind. The extent of the water damage will define the amount of effort required to rescue a wood furniture piece. The longer it is submerged or exposed to water, the worse the damage.
Will Swollen Wood Shrink Over Time?
High humidity causes wood to swell, while low humidity causes it to shrink. Alternating cycles of low and high humidity can result in the cracking of the wood table.
Dampness causes over 90% of difficulties seen in woodworking. Drawers that stick and doors that warp and fracture are examples of this.
New wood tends to be quite wet, so we often get warping when using it for manufacturing furniture because the wood has yet to acclimate. We must dry the wood to the environment’s equilibrium moisture content (EMC) before using it (a process often skipped in today’s high demand for mass production).
When moisture is withdrawn, the cell wall of the wood contracts. Wood won’t start to shrink until it reaches roughly 30 percent moisture content.
This is referred to as the Fiber Saturation Point during the drying process (FSP). FSP occurs when all free water (water that can be soaked up or drawn out) has depleted, and only bound water (natural amount of moisture found in the wood) remains.
How to Fix Water Damaged Swollen Wood
Let’s discuss a few methods and situations for fixing water-damaged swollen furniture.
Remove Moisture from Wood
Let’s assume that you’re dealing with a soaked wooden floor here. I know it’s not furniture, per se. But hardwood floors are expensive and can undergo the same water swelling issues as furniture. Here are the best steps to undergo to deal with such a situation.
1. Remove Everything
Rip up water-soaked carpets and remove furniture from the damp area. Remove these water-soaked things from the house if the entire floor is saturated. Allow them to dry in the sun.
2. Wet Vac
Utilize a wet vac to suction up as much water as possible. Make sure to empty it as it fills to maintain a strong suction and prevent water seepage.
Suction along the floor. Even though there is no visible standing water, the suction continues to draw water from the wood’s unseen pores.
3. Scrub and Clean
Scrub the floor to make sure you’ve removed all debris. Clean the floor a second time using a wood floor cleaner to ensure that all pollutants are eliminated.
If required, use a scrub brush. If not, a wood floor cleaning cloth or mop would suffice. Rinse the floor well and then vacuum and dry with rags.
4. Dehumidify
Once all standing water has been removed, locate a dehumidifier and place it in the room’s middle. Increase the extraction setting to the maximum. Turn it on and run it for one full day to extract moisture from the boards.
Depending on the tank size, you may have to dump the water during this time.
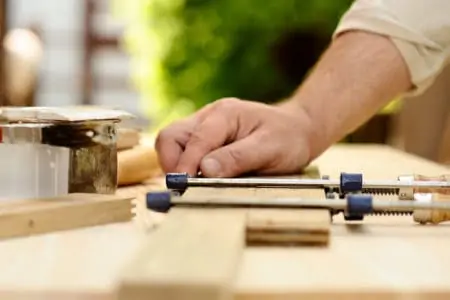
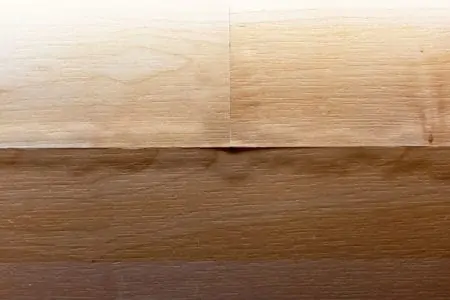
Flattening Wood
Water damage on a beloved end table? Here’s the fix.
1. Moisten Surface
Wet the entire face of the board evenly with a paper towel or damp cloth. You can utilize a spray bottle in this situation.
The amount of water you should use is determined by the thickness of the item and the degree to which it has bent.
Generally, larger parts require more water, while smaller pieces require less. In any case, use sparingly and repeat the process if necessary.
2. Place on Flat Surface
Arrange the damp board or tabletop on a level countertop or workbench, moist side down. This keeps the wet side moist and exposes the dry side to air.
A little weight on top of the board should assist in flattening the wood. But it’s not always essential.
Allow 24 hours or overnight for the board to sit before rechecking it. If the surface is not entirely flat, return to the first step and do this again.
3. Give It Time
Allow some time for your board to equalize with the surrounding air and stabilize so it does not warp again.
Sanding Wood
Try this if you’ve got a large, raised bump that can’t be flattened using the above method.
Safety First
Make sure you acquire a protective mask and safety glasses before starting to sand the wood surface.
1. Sand
Fold the sandpaper, and, with even pressure, rub the sandpaper back and forth.
2. Remove Dust
Brush away the dust that has gathered. After sanding is complete, the wood should be smooth to the touch.
3. Oil
Combine the light sanding with furniture oil. For around 15 minutes, rub it back and forth. The heat you generate will allow the oil to penetrate the wood.
4. Clean
Wipe the surface clean using a rag.
5. Remove Excess Oil
Ensure that any oil residue is removed; there should be none left when you’re finished. You can do this with a clean, fiber-free cloth. Wipe it over the surface until no excess comes off.
Remove Water Stains
Those wretched water rings on your coffee table! Here’s a quick method using an iron to remove them.
1. Cover with Cloth
Begin by placing a clean cloth over the blemish. For optimal results, be sure you use a cotton cloth that doesn’t have decals or prints.
2. Prep the Iron
Ensure that the iron has no water and then set it to a low temperature.
3. Iron
Once the iron is warm, place it briefly on the cloth over the water stain. Lift both the fabric and iron after a few seconds to inspect the discoloration. If the stain remains, repeat the procedure until the stain is eliminated.
Tips For Hiding Water Damage
In certain situations, you might find that fixing swollen wooden furniture isn’t always a possibility. So, hiding them is the next best thing if you can’t afford replacements.
Here are some tips for hiding water damage, based on what surface you’re dealing with:
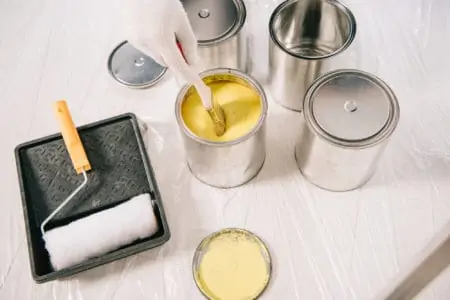
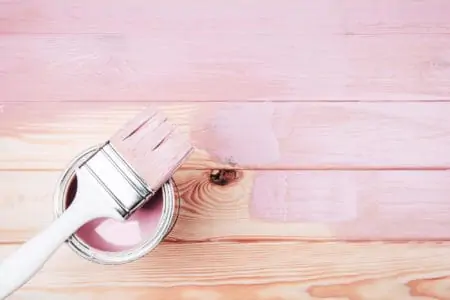
Paint Over the Surface
If the damage isn’t too extensive, you could easily paint over the surface and hide the flaws. This would be ideal with water rings from a glass.
Put a Nice Tablecloth on Top of the Table
If DIY is not your thing or you simply don’t have the time, a tablecloth is a great way to cover the damage.
Restore it with Lemon Oil
Lemon oil is a great alternative to other products with high VOCs.
Use Filler for Cracks
If the damage is minimal, but there are some cracks, fill them with wood filler. Once dry, give it a light sand, and you’re good to go!
Repair Veneers with Aluminum Foil
Is the water damage beneath a plastic veneer such as kitchen cabinet doors or a vanity? Then cover a hot iron with aluminum and iron over the bubbled veneer. This will shrink the material, forcing it to adhere to the pressed wood beneath it.
Use a Vase or Large Decor
As a last resort, try hiding it with a large vase or decorative piece. While this is more of a temporary fix, it’s effective in a pinch.
How to Protect Wood from Water Damage
There are three fail-proof methods that you can turn to if you want to waterproof wooden surfaces to protect them from water damage.
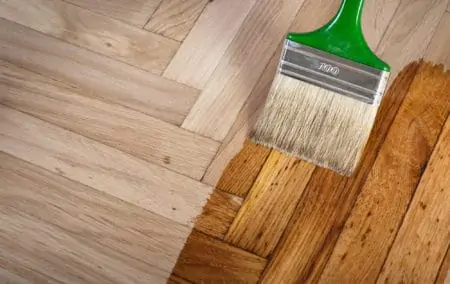
Using Hand-Rubbed Oil Finish
Almost every hand-rubbed oil finish derives from tung or linseed oil. They enhance and protect dark-grained woods such as mahogany and walnut.
By combining the oils with other components, drying periods are accelerated, and stickiness is eliminated. You can buy pre-blended oil supplies or create your own bespoke blend for a unique finish.
An oil finish works to repel water from the surface of the furniture while also treating it. With a fiber-free cloth, dip it in the oil and simply rub it over the area. Once dry to the touch, apply a second coat.
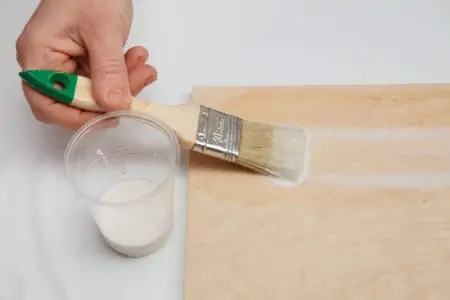
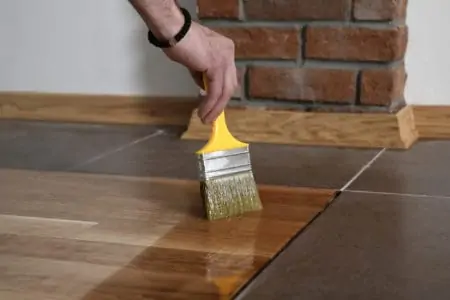
Using a Sealant
Lacquer, varnish, and polyurethane are all tried-and-true waterproofing sealants. They are brushed or sprayed over clean, sanded wood and left to cure entirely before lightly re-sanding and recoating the piece.
It will seal the wood’s pores and prevent future water damage while giving it a nice finish.
Apply your finish in a “room temperature” atmosphere for the best results. This is best done with a brush in two to three light coats. Allow proper drying times between coats (check the instructions on the specific product you bought).
Never shake or vigorously swirl sealants before application. Doing so might result in air bubbles that stay on the surface of the sealant long after it cures.
Caution
While these sealants dry quickly, they frequently contain chemical solvents, necessitating ventilation during application.
Use Stain-Sealant Combos
When time is critical, or you’re protecting a huge project, choose a high-quality stain-sealant combination. These two-in-one products enhance color while also providing water resistance.
Stain-sealant products are made of color pigments and binders that might be alkyd, water, or oil-based. The outcome can be opaque, transparent, or something in between, depending on the pigment concentration in the product.
When applying a stain-sealer on outdoor wood, you should reapply it every year to maintain the wood’s protection.
Except for alkyd-based compounds, stain-sealants do not build up on the wood surface. Instead, they soak in and evaporate any surplus. This makes them ideal for interior wood objects (like rustic furniture or exposed beams) that will not require additional treatments.
Outside, alkyd-based stain-sealers might peel if the wooden surface in question is not completely dry and clean before application.
Final Words
Plenty of people are wondering how to fix water-damaged swollen wood furniture. Because let’s face it, we don’t always have the money for replacements.
Remember that some types of wood are more difficult to repair because of their poor original quality. But you can salvage some of them if you follow the different sets of instructions provided in this article.