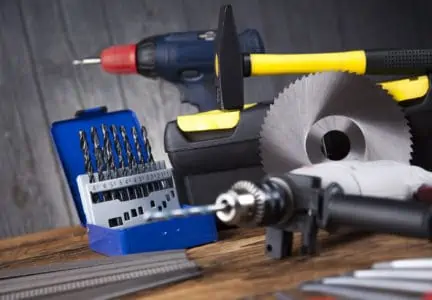
All DIY projects begin with planning, and all planning starts with gathering the correct tools for the job. Luckily, the best drywall tools are neither expensive nor hard to get. You can purchase them from any hardware or online store.
We examine essential drywall installation tools and highlight additional tools for drywall that might make the project easier.
Key Takeaways
- Essential drywall tools include a utility knife, measuring tape, drywall T-square, and a screwdriver or drill/driver for fastening.
- Additional tools for professionals or large projects include a nail gun, orbital sander, drywall lift, and drywall screw gun.
- Materials needed for drywall projects include drywall sheets, joint tape or compound, and safety gear like goggles and face masks.
- When working with drywall, always follow proper safety precautions to protect yourself from dust and debris.
Drywall Installation Tools
Installing sheetrock requires the right tools. Luckily, you don’t have to rush out and buy them all in one hit; it depends on the specific project. However, we thought we’d create a drywall tools list to give you an at-a-glance guide for convenience.
| Drywall Stages | Tool |
| Measuring | Measuring tape, pencil, paper. |
| Cutting | Utility knife, jab saw, drywall T-square. |
| Hanging | Screwdriver, hammer, drill/driver, drywall screws, drywall nails. |
| Finishing | Sander, sandpaper, sanding block, joint tape, joint compound, drywall knife. |
Must-Have Drywall Tools List
Every self-respecting drywaller knows which tools they rely on day in, day out. But which make the first team, and which ones are the reserves. Let’s take a look in more detail:
Utility Knife
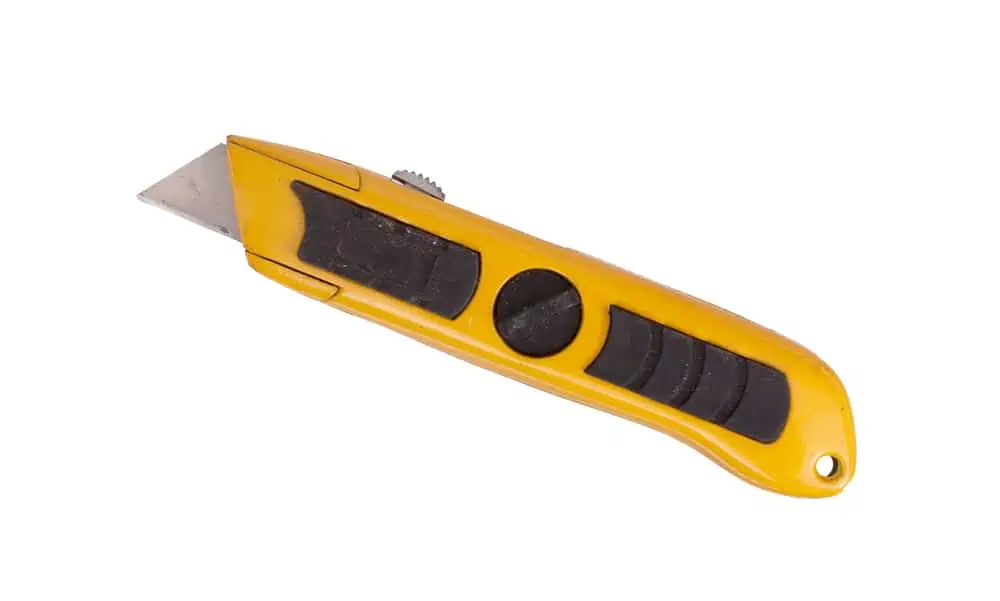
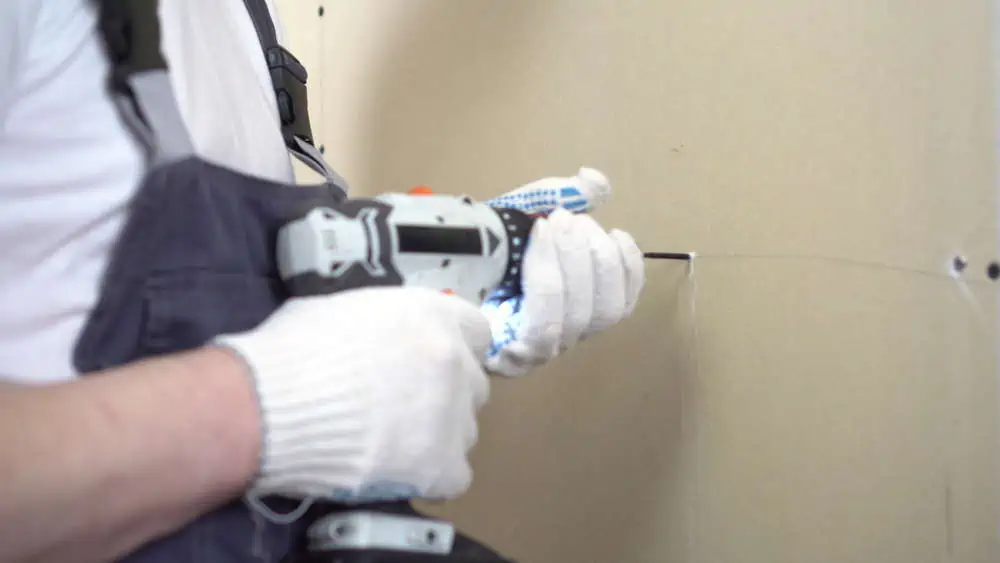
How often do you reach for a utility knife when performing any DIY task? It is the first on the list because it is the unsung hero of your tool kit. You will need a utility knife to cut the drywall to size and shape.
It is also handy when you need to trim sections or make adjustments. Get a utility knife with interchangeable blades rather than snap-off blades. A sharp knife is crucial when cutting drywall if you want clean lines.
This AmazonBasics Retractable Knife is pretty basic but affordable and perfect for scoring and cutting drywall.
Measuring Tape
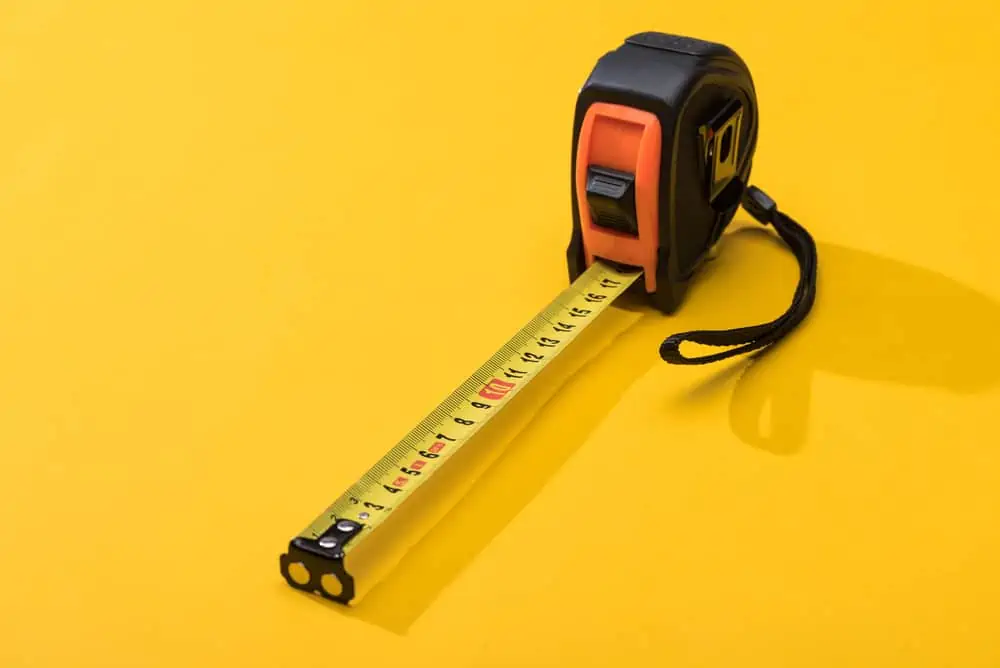
A tape measure is the second-most essential tool in your tool kit. Without a measuring tape, everything is guesswork, and you need to know exactly how big or small to cut the drywall.
You also need to know the depths, distances between studs, and spacing to insert the nails or screws. It is the measure of success for any professional or DIY project (did you see what we did there?).
Drywall T-Square
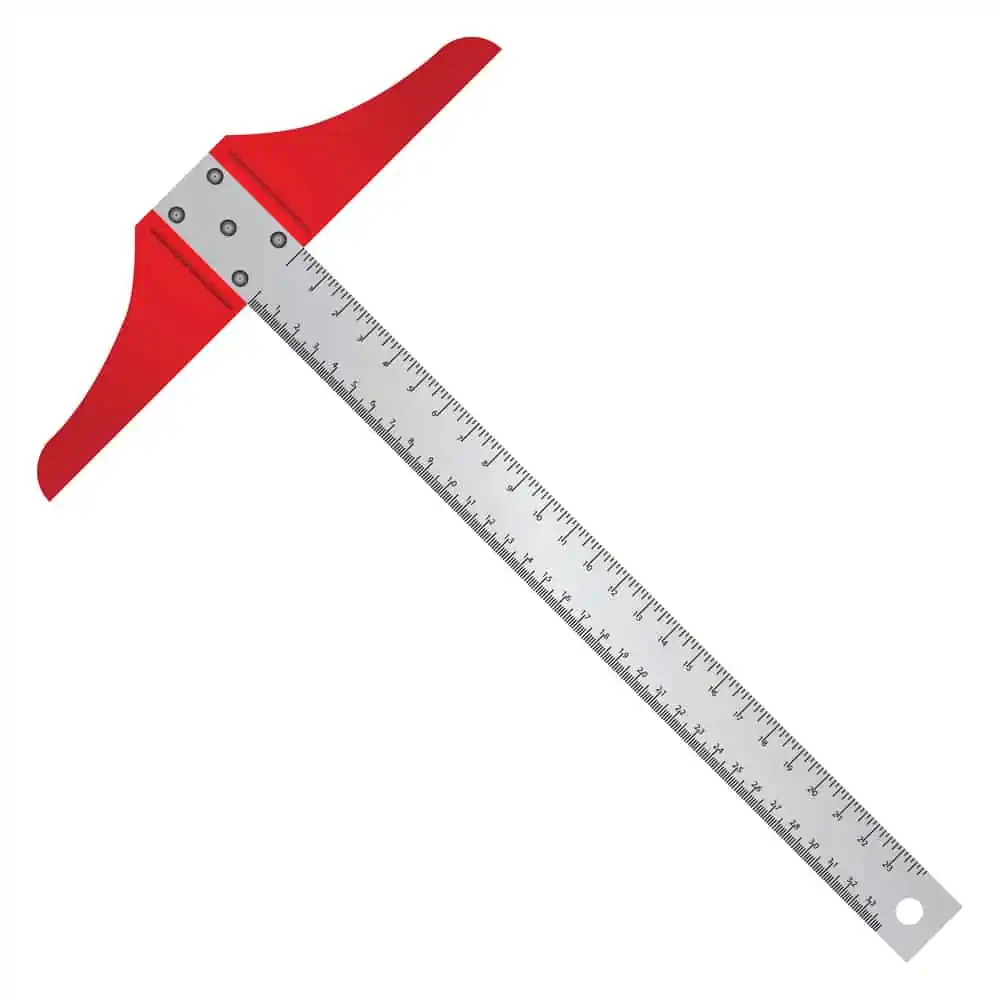
What’s the difference between a drywall T-square and a standard one? They are similar, except the drywall T-square is much larger. It caters to 4×8-feet sheets of drywall, allowing you to score down the entire width of the panel.
They also have adjustable heads to change the angles from 30 to 75 degrees. The cross-section also sits neatly over the edge of the panel without moving.
You will find that your T-square gets so much use you’ll wonder how you ever managed without it. You’ll use it for scoring, marking lines, and improving accuracy when making cuts.
This Kapro 48-Inch Adjustable T-Square is an excellent example because it is constructed from anodized aluminum and folds for easy storage.
Jab Saw
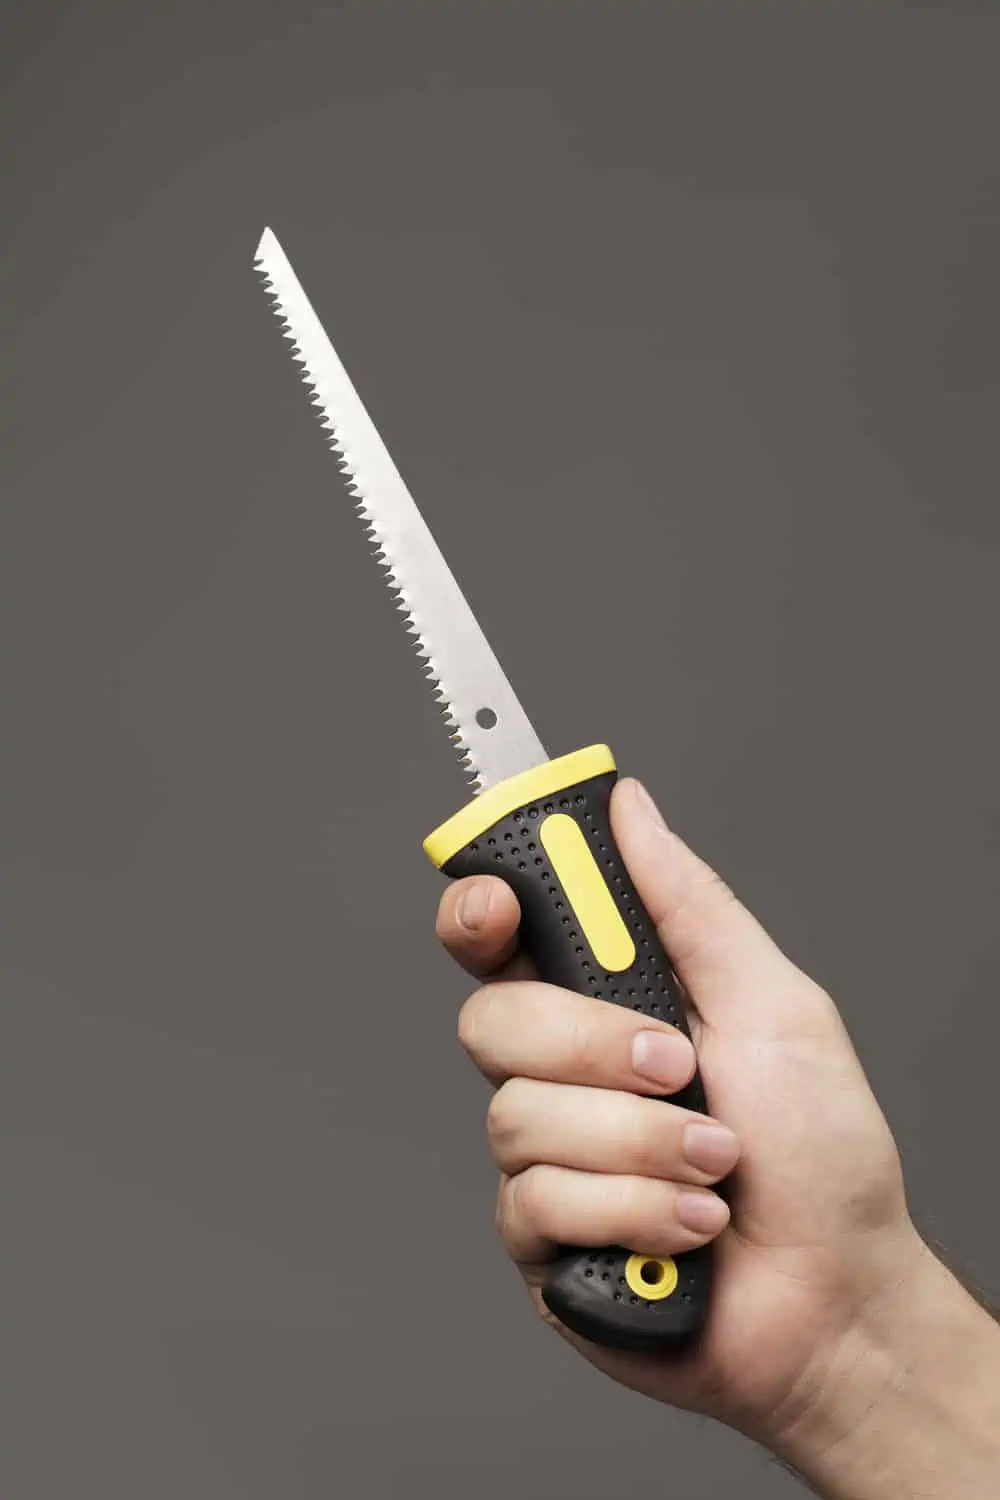
Jab saws are sometimes called keyhole saws because they have a tapered blade that cuts the smallest holes in drywall and other materials. They are essential hand tools and loved by amateurs and professionals alike.
If you have a panel covering an electrical switch or socket, a jab saw enables you to cut detailed sections to work around obstacles. It has large teeth that slice through any drywall thickness, and most fold to make storage easier.
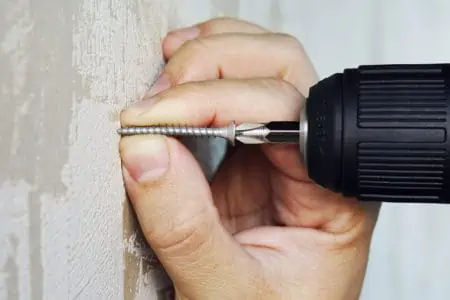
Screwdriver or Drill/Driver
Whether you use a screwdriver or go the automatic route depends on the size of the project. A screwdriver is ideal for hanging a few drywall sheets, whereas a drill/driver can cover multiple sheets, speeding up your work rate.
Top Tip
If you use a drill/driver, go for a cordless model because it frees you from trailing cords and extension cables.
Hammer
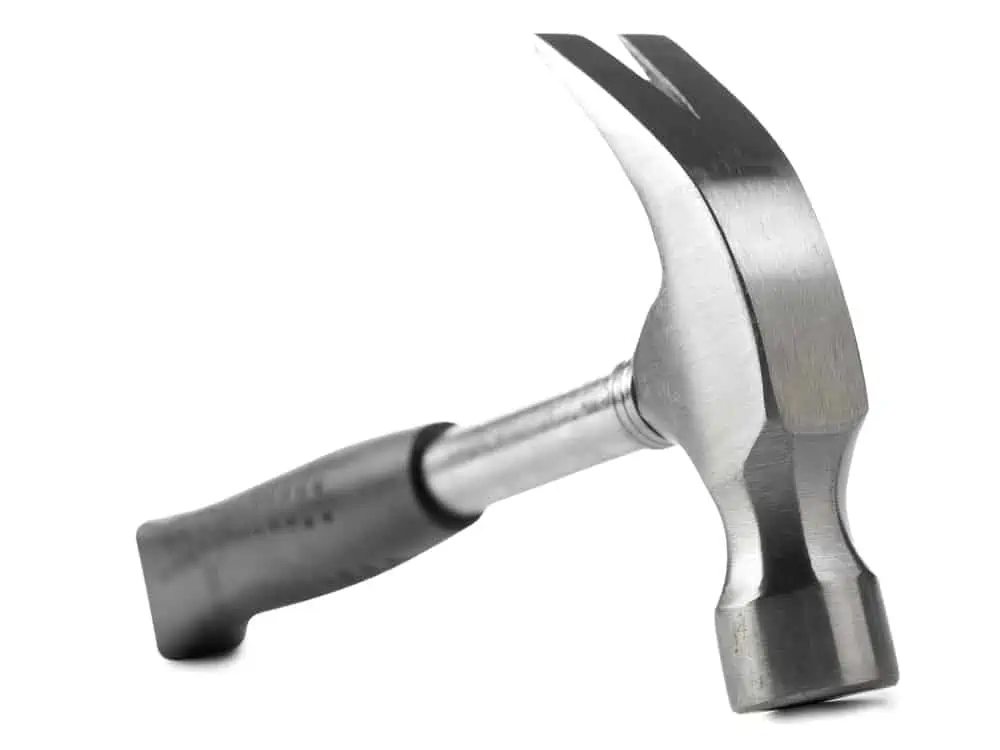
While drywall screws are the most popular drywall fastener, sometimes people use drywall nails. If you opt for nails, you’ll need a hammer. This Goldblatt model is specially designed with a milled face and a hatchet end for pulling up drywall nails.
Drywall Nails/ Drywall Screws
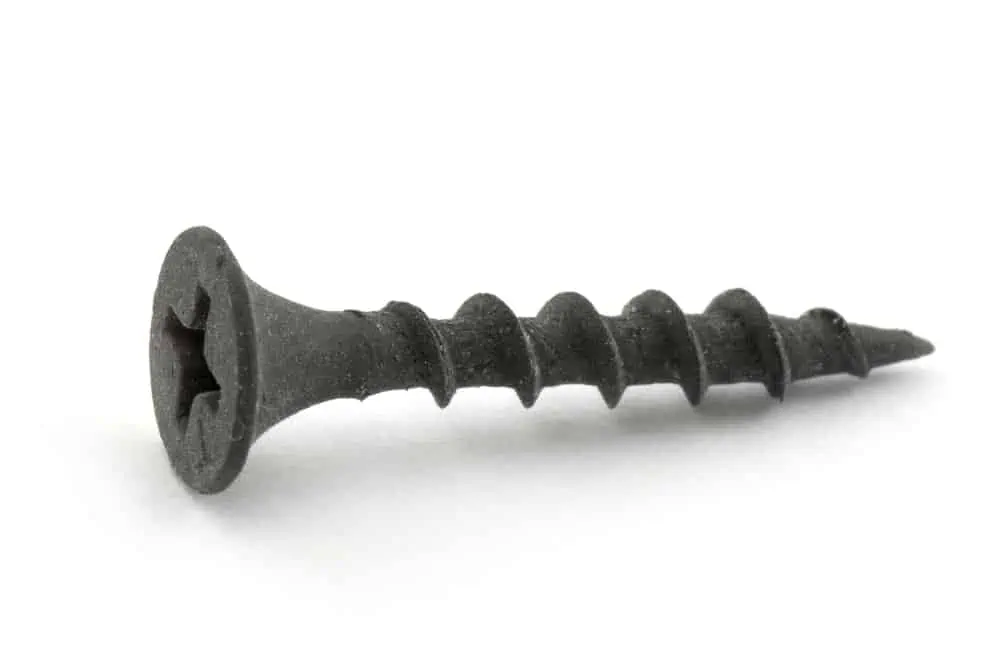
You will need a ready supply of 1.25 to 1.5-inch screws or nails. Nails are easier to install, but you may need more depending on building code guidelines. You will use 64 nails and 32 screws on an average 4×8-foot drywall sheet.
Drywall screws take longer to insert, but you use fewer per sheet. Drywall screws are more expensive, but you may offset the additional costs because you use a lot less.
You can buy drywall nails and drywall screws from online sites and your local hardware store.
Sanding Tools
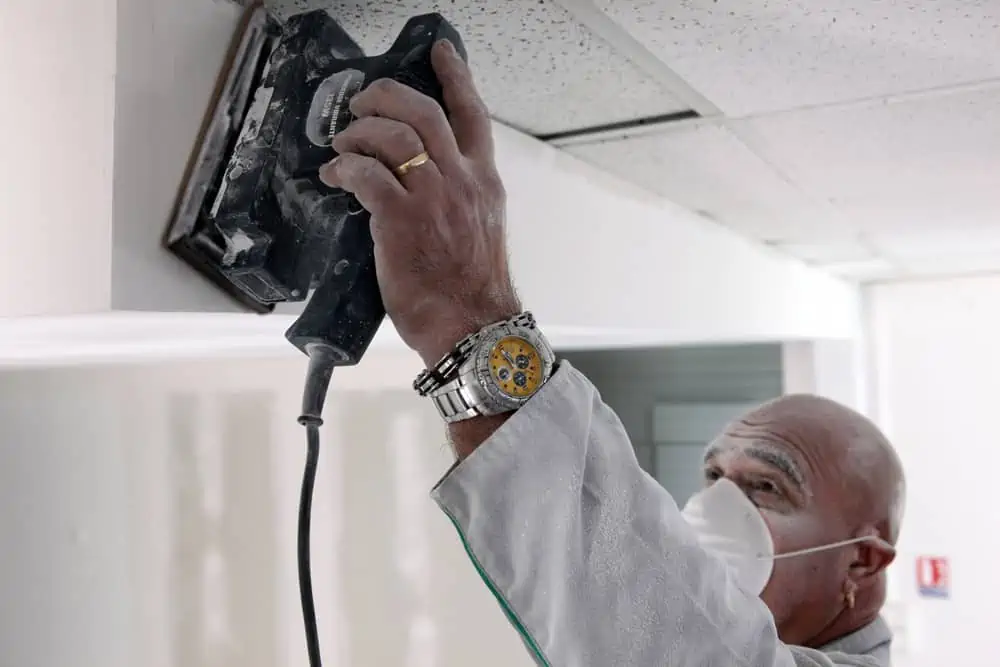
Once the drywall is mounted and the mudding has dried, you will need to prep for priming and painting. You can use a simple sanding block, like this Warner model, if you want to complete the work by hand.
Additional Drywall Tools
So, we’ve dealt with the essential tools, but what additional tools would you find useful. Here are some items you might want if money was no object.
Nail Gun
If you feel like speeding up the nailing process, go for a fully automatic nail gun, like this BOSTITCH Brad Nailer. It has adjustable depth, smart point technology, and an oil-free operation to reduce drywall staining.
Orbital Sander
You might want to step it up with an electric sander for more significant projects, like this Dewalt 20V Orbital Sander. You can skim along at a faster pace, smoothing the joint compound to sit flush with the wall surface.
Drywall Lift
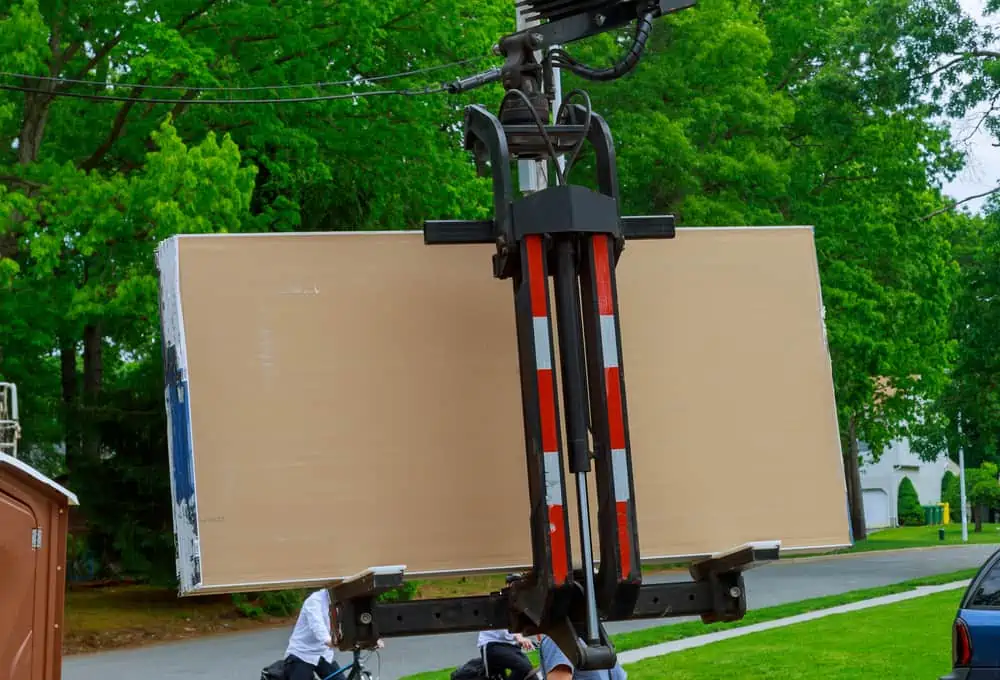
Unless you have help, lifting drywall sheets can be physically demanding. The average 4×8-foot sheetrock panel weighs upwards of 60 pounds, and larger panels even more.
A drywall lift, like this jack lifting hoist, enables you to raise the panel and position it ready to mount. It removes the back-breaking work and speeds up your work rate.
However, a drywall hoist is not a cheap piece of kit, so you need to decide if it is worth you splashing the cash on. If you have a lot of drywall to hang, it could be worth it, but for small projects, maybe not.
Drywall Sander

Drywall sanders differ from standard models because the sander is mounted on the end of a long pole to help you reach the tallest and tightest corners. The dust gets sucked through a long hose and collected in a container.
They are expensive and only have one use, so unless you are installing a lot of drywall, you will probably use your existing orbital sander to do the job.
Drywall Taper
Drywall tapers are referred to as mudding guns or tape banjos. It is a hand-held device that feeds the tape to make it easier to apply along drywall joints. Think of it as a dispenser for your sticky tape.
Some models even push joint compound into the joints and then seal the top with mesh tape. You get a smoother finish, and it is quicker to execute.
Drywall Screw Gun
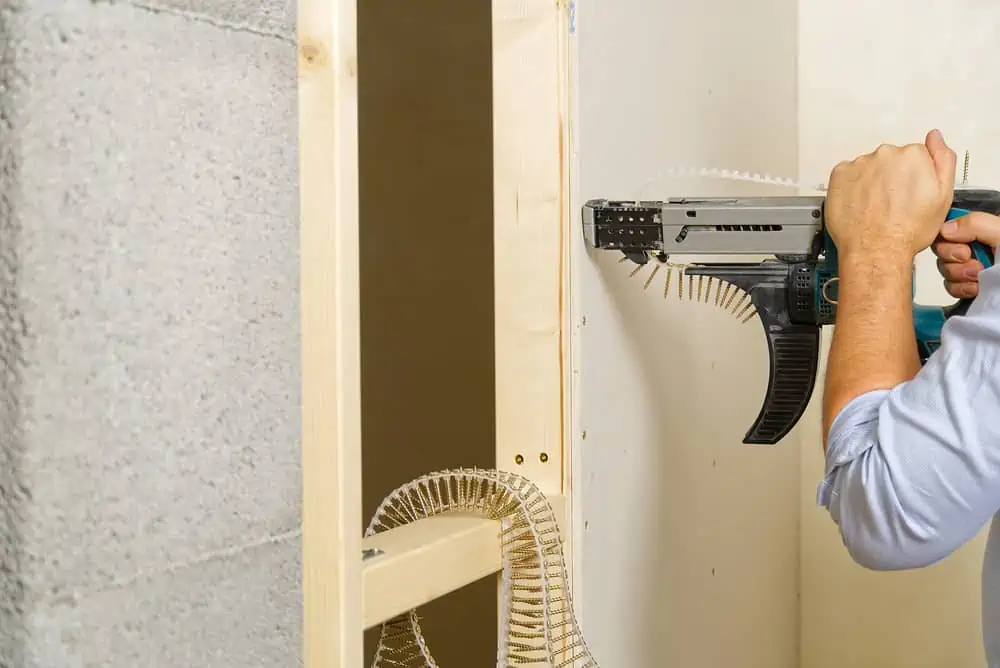
Want a faster way to drive drywall screws? This Dewalt Drywall Screw Gun is the perfect tool for driving 1.25 and 1.5-inch drywall screws. Most contractors use drywall nails if they want faster results, but you can really pick up the pace with this screw gun.
Unless you need this tool, a drill/driver will work well without the added expense.
Drywall Materials List
Okay, so we’ve covered the essential and additional tools you want/need, but what about the materials to complete the job? Let’s start with the most obvious material you’ll need.
Drywall Sheets
Without drywall panels, nothing gets done. The most popular size is 4×8-foot because it is easier to maneuver and covers domestic and commercial projects. Larger sizes include 4×12 feet and 4×16 feet.
Here’s a guide to drywall thicknesses:
| Thickness (Inches) | Best Uses |
| 0.25 | Smoothing textured walls and creating curved sections. |
| 0.375 | Patch repairs. |
| 0.50 | Ceilings and walls. |
| 0.625 | Ceilings and walls. |
| 0.75 | Load-bearing walls and overlaying. |
Joint Tape or Compound
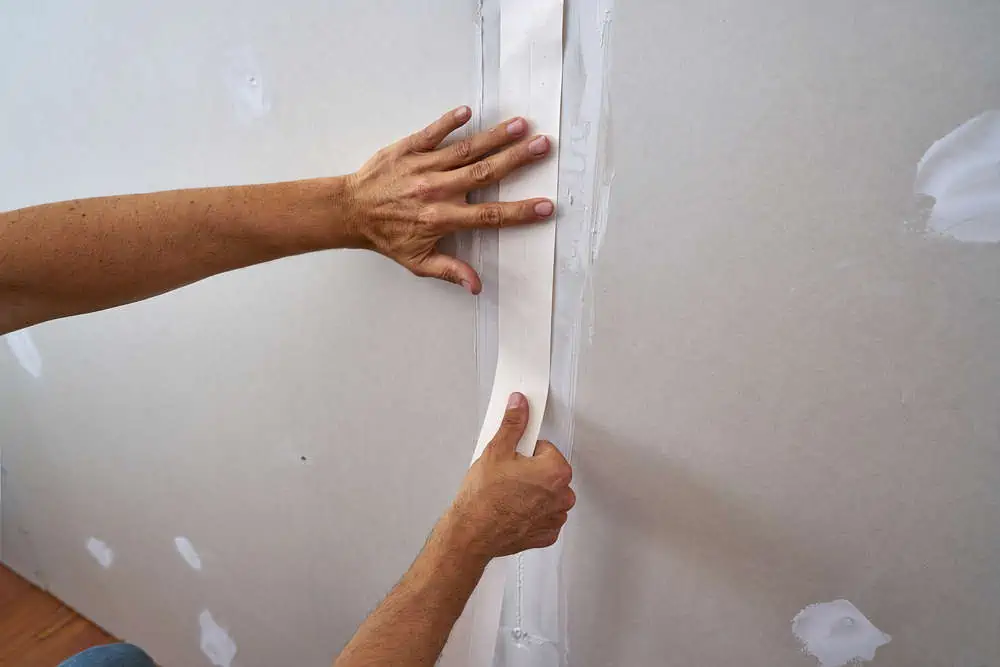
Joint tape is the easiest way to seal the gaps between each panel. This Duck Brand is a perfect example of tape that requires no compound to neaten the lines. Essentially, it is fiberglass mesh on a roll that is ideal for repair jobs, patching small holes and cracks.
The alternative is to use joint compound to fill the gaps between the boards. You will need a drywall knife to smooth it, so it sits flush with the wall.
Safety Gear
Aside from tools and materials, you will also need additional safety gear. Drywall has a gypsum core that throws out dust when cut and drilled. Joint compound also releases particles when sanded.
You will need safety goggles to protect your eyes from gypsum and compound dust. You should also wear a face mask to reduce the chances of dust inhalation.
A shop-vac is an excellent way to remove excess pollution. This Vacmaster Wet and Dry model holds up to five gallons of waste material and has a powerful three-horsepower motor to remove the most stubborn dirt.
FAQs

What is Mesh Tape Used For?
Mesh tape seals the joint compound between each drywall panel. It creates an invisible seam and gives the illusion of a smooth wall.

What Size Taping Knife Do I Need?
Four and six-inch knives are the best sizes to apply joint compound into the gaps between drywall boards. Finally, a 12-inch knife is used to feather the compound for the final coat of spackle.

Should Drywall Tape Be Wet?
Soak it in water before applying it to the joint compound to reduce bubbles after it dries. However, some drywall tape can be used dry. Follow the instructions for your product for the best results.
Drywall Tools Roundup
So, we’ve talked about the essential tools and the additional supplies needed to complete a drywall project. We’ve also discovered that you don’t need all the tools at once. Sometimes you can make do, or the project only calls for a handful of tools to be used.
If you strip it back to basics, all you need is a means of measuring, cutting, and fastening drywall boards. You could complete most tasks with a tape measure, utility knife, and a screwdriver.