There was a time when concrete was used exclusively for heavy-duty industrial work such as constructing factories and laying driveways. However, concrete’s extreme strength and tactile nature have made it increasingly popular with builders and architects.
Today, you can see concrete being used in high-end apartments to achieve a bold minimalist look. If you decide to use it for your own project, you will have chosen a material that is extremely strong. The only drawback of this toughness is that you might find it difficult to make modifications later.
Thankfully, drilling into concrete is not as daunting a task as it might seem. In this guide, we will explain how to drill into concrete, including which tools you need and the technique you should use.
Key Takeaways
- Use a hammer drill with a tungsten carbide bit for drilling into concrete.
- Mark the spot where you want to drill and create a shallow pilot hole.
- Drill in short bursts at a slow speed for greater control and to avoid damage.
- Clear debris from the hole as you go and insert anchors when finished.
Can You Use a Regular Drill to Drill Into Concrete?
There are different types of concrete, with varying levels of hardness. You might be able to use your usual drill to make holes in it but this will depend on the type of concrete you are working with.
For decorative concrete such as internal walls, which are usually softer, it might be possible to use a rotary hand drill and a masonry drill bit. If you do, it is important to take it slow to avoid burning out the motor or damaging the drill bit.
Can I Drill Into Concrete Without a Hammer Drill?
If you want to drill into concrete effectively and without damaging your equipment, you will need a hammer drill. Older concrete is denser and tougher. It was created for strength, not to be a part of interior design.
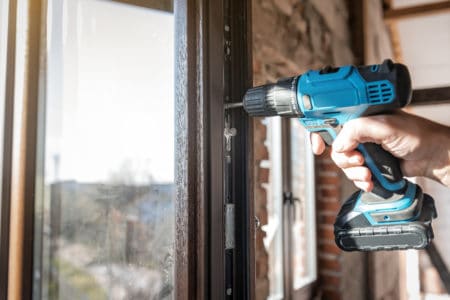
Hammer drills use a rapid hammer action to drive the drill bit through the material, allowing them to penetrate harder surfaces than a standard rotary drill.
Top Tip
What You Need
- Pencil
- Ruler
- Hammer drill
- Masking tape
- Goggles
- Tungsten carbide masonry drill bit
- Masonry nail (3 inches or longer)
- Hammer
- A can of compressed air
- Vacuum
How To Drill Into Concrete
1. Mark the Surface
Use your pencil to mark the spot where you want the hole. Consider how deep you want the hole to be and use a stop bar to set the desired depth of your drill. If you don’t have a stop bar, wrap some masking tape around the drill bit to avoid drilling deeper than you plan to go.
2. Prepare the Drill
Insert an appropriately-sized tungsten carbide masonry drill bit into your hammer drill. Make sure it is tightly locked so it won’t slip while drilling. Put your goggles on before proceeding.
3. Get Into Position
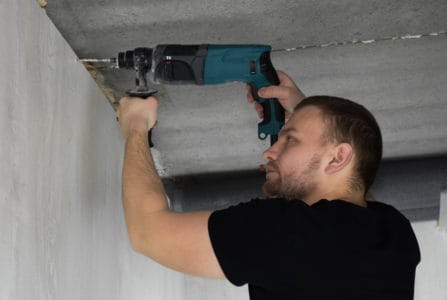
Plant your feet shoulder-width apart and hold the drill tightly. If you have a secondary handle, hold it with your other hand for greater control. If you don’t have two handles, grip the drill’s handle with both hands.
When you move in to make the hole, the tungsten carbide drill bit should be perpendicular to the concrete. There will likely be some kickback caused by the hammering action, so brace yourself.
4. Drill a Guide Hole
Set the drill on a slow setting and make a guide hole. If your hammer drill only has one speed, operate it in short bursts until your guide hole is about a quarter-inch deep.
5. Keep Drilling
Maintain a firm grip but don’t push too hard. This will allow you to respond to any pockets of stone or other hard materials within the concrete. It is easy to lose control of your drill when drilling through a material as tough as concrete.
As you have already made a guide hole, your drill should be easier to control. You can gradually increase the speed of your drill as it moves deeper until the hole is complete.
6. Overcoming Obstructions
When you hit an obstruction, it can be tempting to force the drill through it but you must avoid doing this. Hard obstructions can damage your drill bit and the drill itself. It can also make your drill veer off course, potentially damaging the surrounding area.
Instead of pushing on, remove the drill from the hole. Then, you can insert a masonry nail so it touches the hard spot. Give the nail a few sharp taps with a hammer. Don’t hit it too hard, as you might lose control of the nail and cause further problems.
This should damage the obstruction enough to allow you to drill through it. Remove the nail and slowly start drilling again until you are past the blockage.
7. Clear the Debris as You Go
Every 15 to 20 seconds, withdraw the drill bit and remove any debris from the hole. This will allow the drill bit to cut into the hard concrete without also needing to grind through concrete dust.
8. Attach Anchors
Once your stop bar or masking tape on the drill bit shows that the hole has reached your desired depth, remove the drill. While still wearing your safety goggles, use your can of compressed air to blast the dust from the hole.
Use a vacuum cleaner to clean up any debris that falls on the floor. Then, insert your anchors into the hole, tapping them with a hammer until they are flush with the surface.
9. Repeat
Repeat this process for any other holes you require.
How Soon to Drill Into New Concrete
New concrete needs to be allowed to set for at least three days before you should consider drilling into it. Concrete takes between five and seven days to reach 60% of its final strength. For this reason, you should leave it for seven days if you want to attach anchors. This is because some expanding anchors place a lot of pressure on the surrounding material.
FAQs

How Can You Tell If a Drill Bit Is for Concrete?
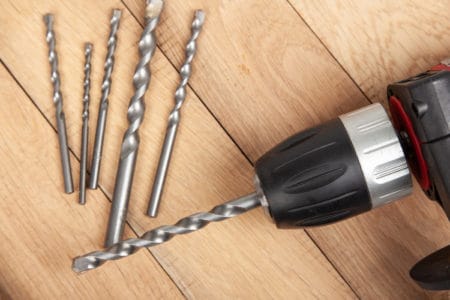
At first appearance, masonry bits appear to be similar to wood bits because, like wood bits, they contain a deep spiral groove that assists in removing debris from the hole as the bit is drilled.
The most obvious aesthetic distinction is that masonry bits do not have a pointy, softly rounded tip like conventional general-purpose bits. This is the most obvious difference. The tip, on the other hand, is typically formed like an arrowhead.
These tips assist in gnawing through the harder, denser masonry, reducing it to fine particles that are then expelled from the hole. The hammer drill is the most efficient tool for drilling into masonry when utilizing these bits.
Masonry can be extremely hard, abrasive, and even corrosive, which makes it difficult for drill bits to get the job done.
Masonry bits are typically manufactured from steel alloyed with cobalt or topped with a compound known as carbide, an extremely hard material.
You can even get pieces manufactured entirely out of carbide, which may be more expensive but are far more long-lasting.

Should I Use Water When Drilling Concrete?
At first, glance, using water when drilling concrete may seem counterintuitive. After all, water can cause concrete surfaces to become soft and sticky, making it difficult to get a good grip on the material without damaging it.
However, there are several good reasons why water can benefit in this context.
For one thing, water helps to keep dust and debris particles from getting in the way of the drill bits, reducing friction and allowing them to cut through the material more easily. It can also prevent clogs and make the process smoother.
Adding some water can make the concrete denser and stronger, providing better support for the hole that is being drilled.
All in all, while it is certainly possible to drill concrete without using any water at all, most experts recommend adding a small amount as an effective way to improve overall performance.

Can I Use a Wood Drill Bit on Concrete?
A wood drill bit most likely won’t work with a concrete surface. It’ll most likely slip or spin without any effect because it’s just not made for hard concrete.
As the bit spins against the hard surface of the concrete, it is likely to heat up quickly and dull more quickly than usual.

Will a Metal Drill Bit Work on Concrete?
A metal drill bit can be effective for drilling into concrete. But, the type and quality of the metal used to create the drill bit are key.
High-quality steel will give you better results than lower-quality materials. It’ll stand up better to the higher temperatures and greater pressure that comes with drilling through concrete.
The overall size of the drill bit can influence its effectiveness; a smaller bit may need to provide more cutting power to cut through concrete efficiently.
Using a lubricant can help prevent premature wear and tear on the drill bit and increase the speed and accuracy of drilling into concrete.

How Do You Drill Into Concrete Without a Blowout?
All that is truly required to drill into concrete without a blowout is a high-quality power drill together with a masonry bit. The most effective tools are rotary hammers. They drill into the concrete and hammer the surface at the same time.
Hammer drills are also very useful since they include a vibrating function that assists the bit in cutting into concrete. However, a regular drill can also accomplish the task.
The necessary thing is a masonry bit. No matter what drill you use, if you don’t have a good bit, you won’t be able to penetrate through the concrete.

Is an Impact Drill the Same as a Hammer Drill?
Impact drills and hammer drills are two distinct tools and serve different purposes.
Hammer drills are typically characterized by a spinning motion combined with a small drilling action, allowing them to drill holes in masonry and tap or pound into surfaces.
This distinctive combination makes hammer drills ideal for applications such as mounting cabinets or anchoring fixtures to walls made from concrete or other hard materials.
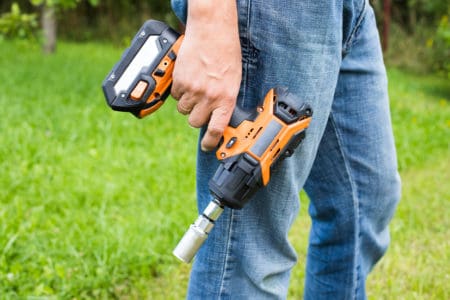
In contrast, impact drills primarily generate rotational force transferred directly to the screw tip via a twisting force rather than through a separate drilling action.
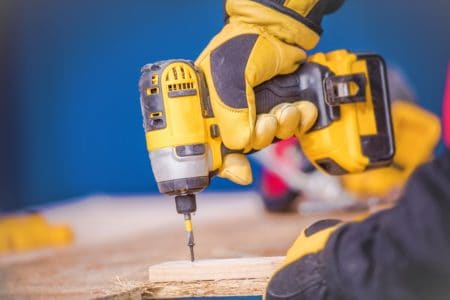
As a result, impact drills are better suited for driving screws into softer surfaces like wood or drywall. Additionally, because their direct screw-driving action generates less vibration than their hammering counterparts, impact drills can also be used for more detailed work.
Thus, while both tools share similarities in general use and capabilities, they each have some important distinctions that make them better suited for certain tasks than others.