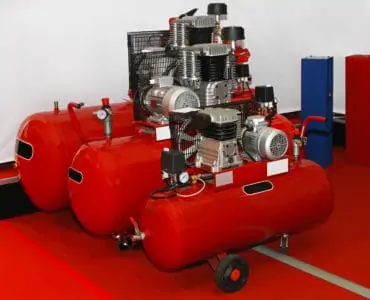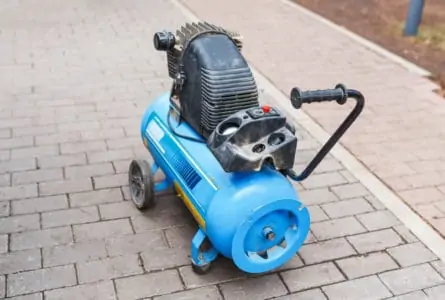
Maintaining air compressors, so they stay in full working order, is crucial if you want to preserve its performance, efficiency and longevity. The more you use your air compressor, the more it suffers.
Stay way ahead of the next potential malfunction by maintaining your air compressor, so it delivers when you need it.
Key Takeaways
- Maintain proper lubrication: Keep the motor and pump lubricated and check oil levels regularly. Use the correct viscosity oil when topping up.
- Drain the tank: Draining the tank of moisture preserves the compressor’s integrity and prevents corrosion.
- Perform a maintenance schedule: Deal with daily, weekly, monthly, and yearly upkeep to ensure the air compressor’s reliability and efficiency.
- Check and replace air filters: Clean or replace air filters regularly to maintain the air compressor’s performance and prevent damage to the motor.
Do Air Compressors Need Maintenance?
Like all mechanical and electronic equipment, things go wrong from time to time. The daily punishment that your air compressor gets inevitably leads to malfunctions and a loss in performance. That’s why you need to maintain it. If you need an air compressor as part of your job, you owe it to yourself to look after your equipment.
You often stake your reputation on your ability to get the job done to schedule. Large or small-scale construction relies on timely delivery, and if you fail due to poorly maintained equipment, you could start a chain reaction of delays that slow the project down.
Here’s why you should maintain your air compressor:
- Reduces downtime.
- Saves money on emergency repairs.
- Increases reliability.
- Increases lifespan.
- Maintains efficiency.
- Lowers energy costs.
Air Compressor Maintenance Checklist
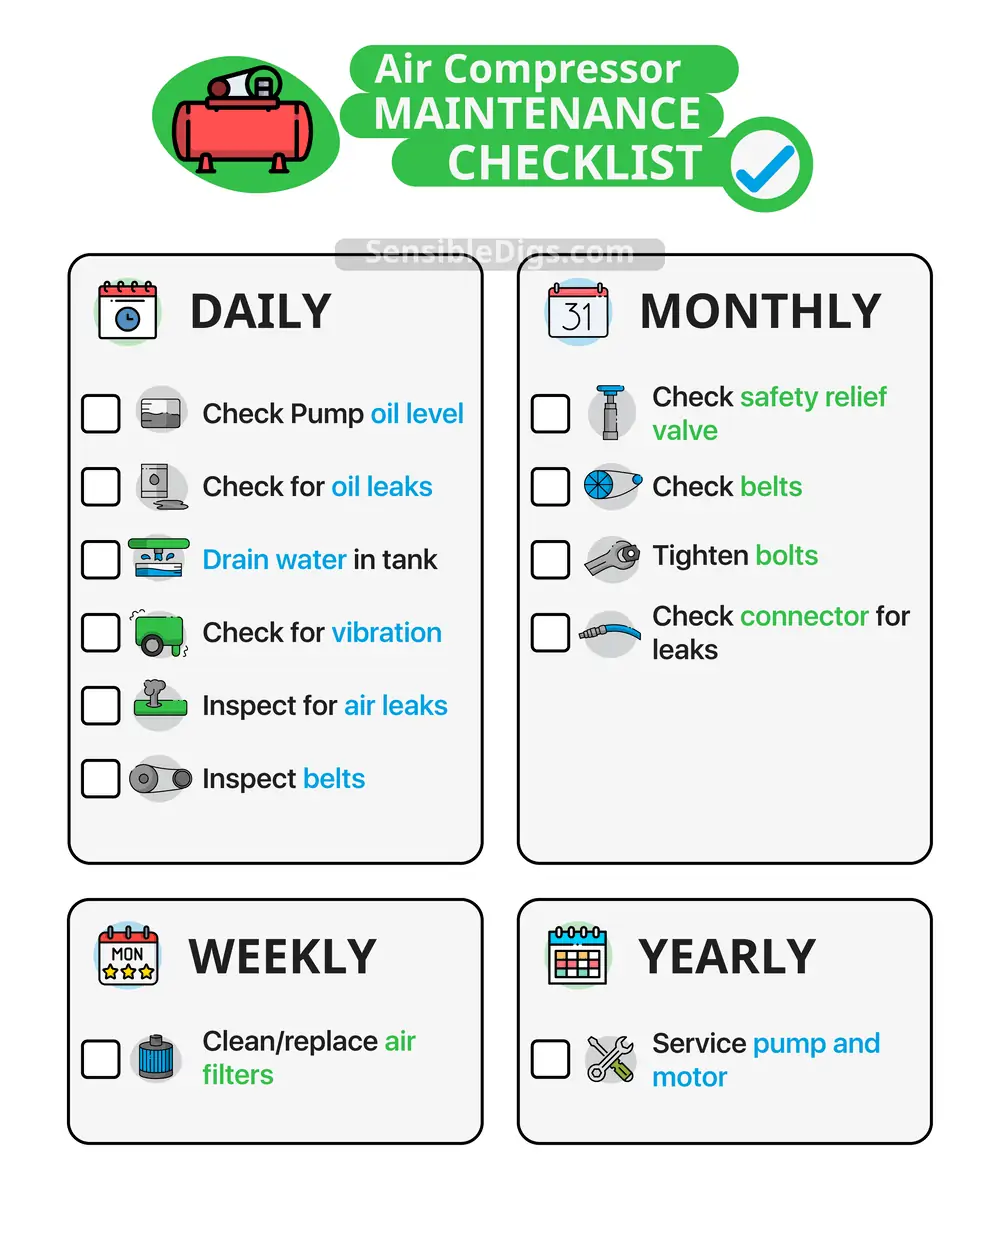
It’s important to keep to a strict maintenance procedure if you want to get the most from your air compressor. To do this, you should draw up a schedule that takes account of the daily, weekly, monthly, and annual tasks.
| Procedure | Daily | Weekly | Monthly | Yearly |
|---|---|---|---|---|
| Check Pump oil level | ✓ | |||
| Check for oil leaks | ✓ | |||
| Drain water in tank | ✓ | |||
| Check for vibration | ✓ | |||
| Inspect for air leaks | ✓ | |||
| Inspect belts | ✓ | |||
| Clean/replace air filters | ✓ | |||
| Check safety relief valve | ✓ | |||
| Check belts | ✓ | |||
| Tighten bolts | ✓ | |||
| Check connector for leaks | ✓ | |||
| Service pump and motor | ✓ |
Air Compressor Maintenance Troubleshooting
Below is a handy guide to troubleshooting issues with your air compressor.
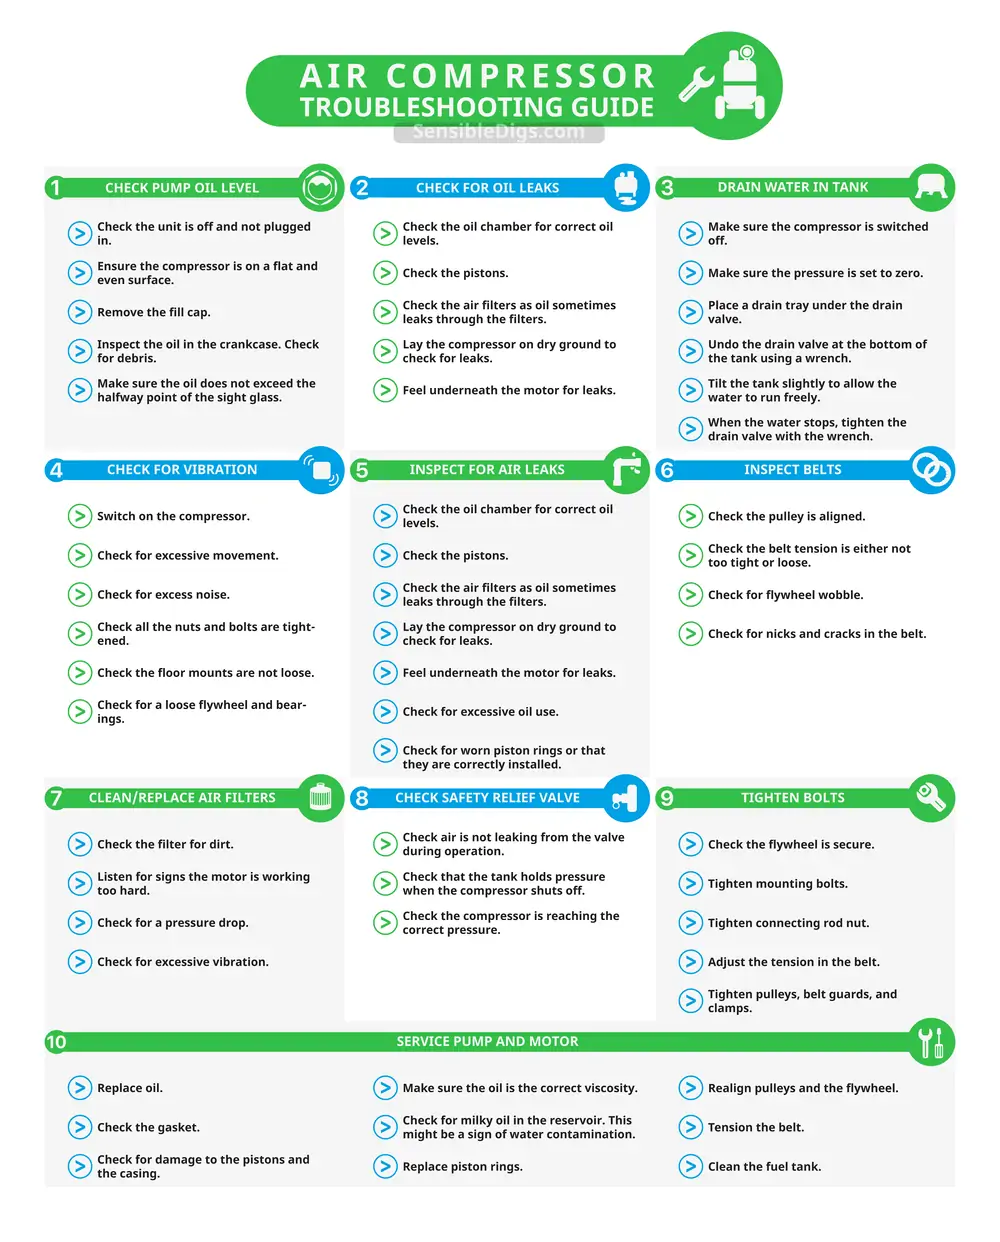
Check Pump Oil Level
- Check the unit is off and not plugged in.
- Ensure the compressor is on a flat and even surface.
- Remove the fill cap.
- Inspect the oil in the crankcase. Check for debris.
- Make sure the oil does not exceed the halfway point of the sight glass.
Check for Oil Leaks
- Check the oil chamber for correct oil levels.
- Check the pistons.
- Check the air filters as oil sometimes leaks through the filters.
- Lay the compressor on dry ground to check for leaks.
- Feel underneath the motor for leaks.
Drain Water in Tank
- Make sure the compressor is switched off.
- Make sure the pressure is set to zero.
- Place a drain tray under the drain valve.
- Undo the drain valve at the bottom of the tank using a wrench.
- Tilt the tank slightly to allow the water to run freely.
- When the water stops, tighten the drain valve with the wrench.
Check for Vibration
- Switch on the compressor.
- Check for excessive movement.
- Check for excess noise.
- Check all the nuts and bolts are tightened.
- Check the floor mounts are not loose.
- Check for a loose flywheel and bearings.
Inspect for Air Leaks
- Check the oil chamber for correct oil levels.
- Check the pistons.
- Check the air filters as oil sometimes leaks through the filters.
- Lay the compressor on dry ground to check for leaks.
- Feel underneath the motor for leaks.
- Check for excessive oil use.
- Check for worn piston rings or that they are correctly installed.
Inspect Belts
- Check the pulley is aligned.
- Check the belt tension is either not too tight or loose.
- Check for flywheel wobble.
- Check for nicks and cracks in the belt.
Clean/Replace Air Filters
- Check the filter for dirt.
- Listen for signs the motor is working too hard.
- Check for a pressure drop.
- Check for excessive vibration.
Check Safety Relief Valve
- Check air is not leaking from the valve during operation.
- Check that the tank holds pressure when the compressor shuts off.
- Check the compressor is reaching the correct pressure.
Tighten Bolts
- Check the flywheel is secure.
- Tighten mounting bolts.
- Tighten connecting rod nut.
- Adjust the tension in the belt.
- Tighten pulleys, belt guards, and clamps.
Service Pump and Motor
- Replace oil.
- Check the gasket.
- Check for damage to the pistons and the casing.
- Make sure the oil is the correct viscosity.
- Check for milky oil in the reservoir. This might be a sign of water contamination.
- Replace piston rings.
- Realign pulleys and the flywheel.
- Tension the belt.
- Clean the fuel tank.
Air Compressor Maintenance Tips
There are always hints and tips that can improve your air compressor techniques. Here are 10 to get you started.
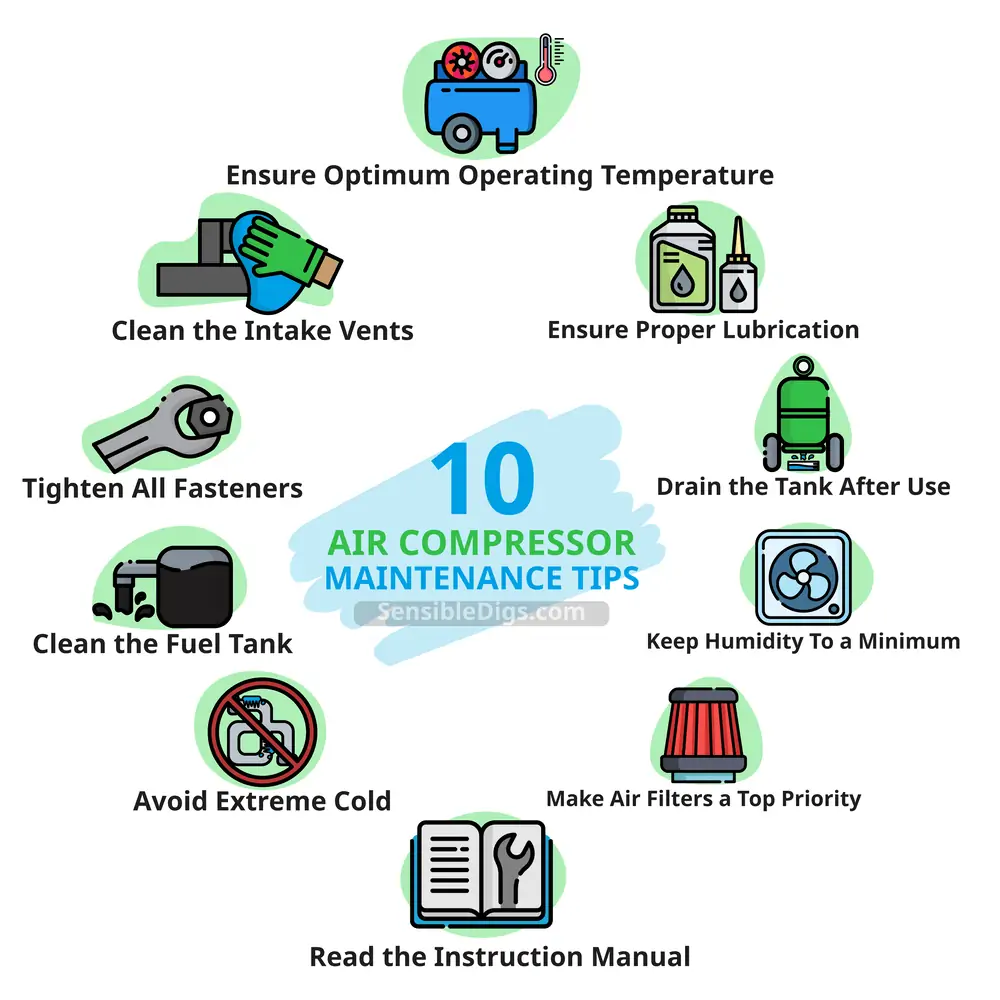
Ensure Optimum Operating Temperature
Air compressors typically operate in high-temperature environments. Abnormal heat is dangerous because it could cause your air compressor to explode. The best way to avoid excess moisture in your air tank is to maintain a water temperature at 10 degrees Fahrenheit above the air inlet temperature.
Also, cooling water outlets should stay below 120 degrees Fahrenheit.
Ensure Proper Lubrication
Don’t neglect your air compressor by forgetting to top up the oil levels. It will kill it over time, costing you a small fortune in a replacement model. It’s such a simple job to do, yet so many people forget to do it.
Think of it in terms of your car. How many people actually check the oil and water before every trip? How many even do it weekly or monthly? If you treated your air compressor the same way, it wouldn’t last very long.
Drain the Tank After Use
Moisture in your air tank spells bad news if left untouched. It is common to get moisture during the compression procedure, but you must ensure that you open the drain valve to release the water from inside the tank after each use.
Failing to do this will cause the tank to corrode from the inside and drastically reduce your compressor’s working life. For such an easy procedure, you would kick yourself if you neglected it.
Top Tip
Keep Humidity To a Minimum
If moisture in the compressor’s tank is bad, then keeping the humidity down in your working environment is crucial to controlling that wet air. Humidity wreaks havoc with electrics and metal components, causing them to rust or malfunction.
Try and keep your workspace ventilated with plenty of fresh air. We realize this might be a challenge in the winter, especially in colder climates, but in the summer, it is vital to protect your compressor.
Make Air Filters a Top Priority
Air filters trap any contaminating particles that circulate within the compressor, making the air cleaner and preserving the life of your device. Once the filter becomes clogged with debris, it restricts the airflow and increases the chances of polluted air circulating inside the compressor.
Blocking the free flow of air means your compressor will have to work harder to achieve the same results, reducing effectiveness and shortening the working life of your motor.
It is crucial that you check your filters every week to keep on top of maintenance issues. If in doubt, replace the filter with a new one.
Read the Instruction Manual
This tip is so obvious, and yet it rarely happens. Instruction manuals help you get to know your air compressor. You learn what it does and what it is capable of. It also tells you the warning signs, plus the correct parts and lubricants to use.
If you fail to read the manual, how do you know the warning signs that your compressor is malfunctioning until it is too late? Also, what oil does it take and what is the viscosity?
These are all simple but vital bits of information that help you maintain your air compressor.
Avoid Extreme Cold
Just like heat, the cold takes its toll on your air compressor, causing damage to the hoses. In the main, air hoses tend to be rubber, which is a material that hates the cold. Rubber becomes brittle and stiffens as the temperature drops, increasing the chances of it cracking and splitting.
You can revitalize hardened rubber hoses, but it must be done carefully using warm water. Check that there are no splits in the surface of the hose or around the joints where the connectors are.
Always try and store the hoses in a cool place, away from extreme cold weather, and preferably in a sealed container.
Clean the Fuel Tank
Cleaning the fuel tank should be something you include in your annual service. Fuel tanks can collect debris, which will block fuel lines, if left unchecked. If you have a gas-powered compressor, empty and clean the fuel tank.
It stops this debris from causing further internal damage, which might result in your compressor failing on you mid-job.
Tighten All Fasteners
As you use your compressor, it vibrates, which causes nuts and bolts to loosen. When this happens, it stops your compressor from performing correctly. The tell-tale signs are increased vibration, compressor movement as it runs, and increased operating volume.
Unlike some maintenance tasks, tightening the fasteners is best done every month as a precautionary check. Look for the obvious components like the flywheel, pulleys, and belt guards.
Clean the Intake Vents
Keeping the intake vents clear is vital to ensure that air moves freely into the compressor. Blocked or narrowing intake valves impede this airflow and reduce the machine’s efficiency while starving it of fresh air.
It means your tank takes longer to fill, and your motor works overtime to do it, putting undue strain on the components and moving parts. A simple clean around the intake ports will tell you if there is debris blocking it.
How Long Do Compressors Last?
A well-maintained air compressor should last between 12 and 15 years. It depends on the quality of the components and, whether it is oil-free or not, and how often the compressor gets used. As always, you get what you pay for, so expect higher-end models to last longer than budget ones.
Air Compressor Maintenance FAQs

How Do I Lubricate My Air Compressor?
Remove the filler cap and check inside the crankcase to gauge the oil levels. If it is low, top up the oil until the crankcase chamber is half full. Reseal the lid. Some air compressors have a clear-view sight gauge to look into, which gives you an instant reading.

Is It Bad To Leave an Air Compressor Pressurized?
If you are going to use the compressed air stored in the tank shortly, then it is acceptable to leave it pressurized. As a rule of thumb, if you use it the next day, it is fine, but any longer and you should drain the tank to ensure the moisture gets siphoned away to stop the inside of your tank from corroding.

What Happens if an Air Compressor Is Not Drained?
An undrained compressor tank stores water inside, which leads to rusting. The more moisture you expose the compressor to, the shorter its lifespan, and you increase the risk of a serious malfunction.
Draining the water is a simple job, so don’t put it off because it could end up costing you a fortune as you shop to replace your compressor. The other thing to remember is, you can buy spares for the motor and pump, but getting a spare tank is nearly impossible.

Should an Air Compressor Run All the Time?
Most air compressors designed to power air tools or inflate tires aren’t made to run all the time. Heavy-duty models often have to because they power up different tools that need to run around the clock.

How Often Should an Air Compressor be Serviced?
An air compressor should be serviced annually to check its pump and motor. However, you also have to check other parts more often.
Things like pump oil levels, air leaks, belts, and water inside the tank must be checked daily. The compressor’s air filters should be cleaned or replaced every week, so check those too. Tighten the bolts and check for connector leaks every month.

Should I Drain My Air Compressor After Every Use?
Those who often work with air compressors recommend draining them daily to ensure the parts inside don’t corrode.
You may not know that the inside of an air compressor’s tank has a moisture-resistant coating. However, the humidity in the air surrounding you often ends up in the tank. As time goes by, this moisture starts to build up, and you may notice water droplets coming out of the air compressor.
The coating inside the tank will be overwhelmed and degrade. As this happens, the air compressor’s tank begins to rust, decreasing its lifespan and that of your air tools.

Can an Air Compressor be Left Outside in Winter?
Since an air compressor runs best at 41 to 95 degrees Fahrenheit (and outside temperatures in the winter are typically lower), it’s not a good idea to leave it outdoors during the cold season. You should also avoid storing the unit outdoors, even if you plan to use it inside.
The reasons are pretty simple. Compressed air will create moisture build-up as it draws humidity from the air.
If these water droplets that get inside the compressor’s tank start to freeze, they will eventually expand. In turn, this can cause pipe bursts and damage your compressor tank.
If you own a compressor that stays outdoors, check with the manufacturer to see if they provide a cold winter kit. However, the best practice is to store the compressor in your shed, garage, or somewhere more shielded from close-to-freezing temperatures.

What Type of Air Compressor Lasts the Longest?
Rotary screw compressors last the longest, which is more impressive once you know that they can operate continuously. So, it is the longest-lasting type of compressor and can also be powered on all the time.
But, there are downsides to air compressors. They typically require more maintenance than other compressor types and tend to be considerably more expensive.
Give Your Air Compressor Some TLC
An air compressor is not cheap, costing many hundreds of dollars, so why wouldn’t you want to look after it? Maintenance can be a pain but done correctly; it can also be cost-effective and useful in keeping your device doing what you paid all those dollars for it to do.
The alternative is a new compressor, which will impact your bank balance.